How to make a background of a portrait photo completely white with Lightroom 10 Dec 2016 11:48 AM (8 years ago)

Hey all,
Most of the time when I shoot portrait photos, the client want med to use a white background. Personally, I think completely white backgrounds make the photo look too harsh. But when your client wants it white, white it is…
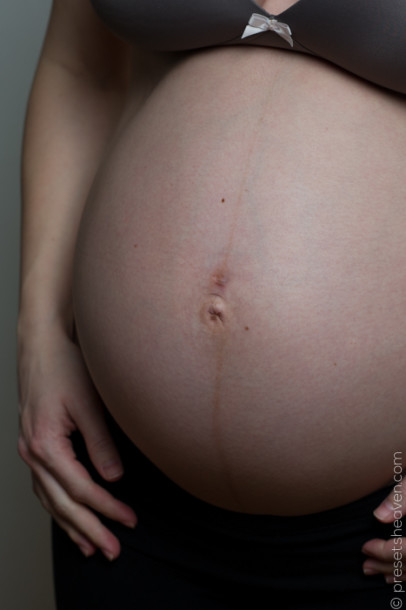
So when I shoot photos like this I always put one flash behind the person or object. I set this flash to a high power value in order to simply blow away all possible shadows and colors on the wall. If you’re in a hurry and perhaps miss something during your setup or your location for the shoot isn’t large enough the background might not end up as white as you thought. This happened to me on my last session. I didn’t have time to measure the light the way I wanted and the room was very small so the person had to stand very close to the wall behind him wich also made him stand very close to my flash. To make a long story short I just fired off my camera and was prepared for that I had to fix the background later on when I came back to my office.
Even though the background looked white in my display on my camera ( I didn’t bother checking for over-exposure detection at that point) it ended up being a bit gray in the corners.
I sent my final photos to the client. They shortly came back to me just to inform me that the photos backgrounds didn’t look completely white on their website.
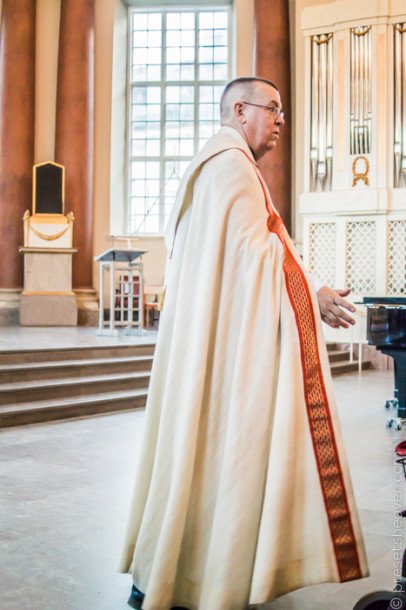
In this video below, I will show you how you can change the exposure of a gray background behind a person in a portrait photo so that the background instead turns completely white (overexposed).
Case closed – Client happy!
I hope you enjoyed the movie. What would you like me to show you the next time?


Christmas preset for Lightroom 9 Dec 2016 12:22 AM (8 years ago)
Hello dear folks!
It’s been a loooong time since I’ve been doing anything on this site.
I’ve been busy with family, house building and other jobs around + the lack of time and interest made me take a long break from this.
I still have thoughts about stepping up again to start deliver presets and tutorials for Lightroom. I think I just need to push myself a bit more to be motivated. Running a site like this on a regular basis takes time and effort, something I’ve been short of lately.
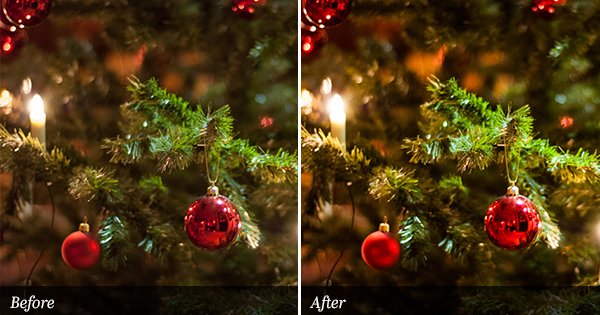
But now when Christmas is knocking on the door I thought I might just pop up with a revamped version of an old preset that I made 2008 (!!!). Back then It was made for Lightroom 3. This version is based on the same preset with some minor adjustments to fit Lightroom 5+.
Basically, it works fine for Christmast photos where trees, gifts and other colourful items are visible.
Hope you enjoy it.
Here’s the Before and after.
Wedding look revamped for LR4 and LR5 15 Apr 2014 10:11 AM (10 years ago)

Hello all friends!
It’s been a while since last time :-/ What can I say, I’m a busy guy doing lots of things while being a father of two kids. :-)
Anyway,
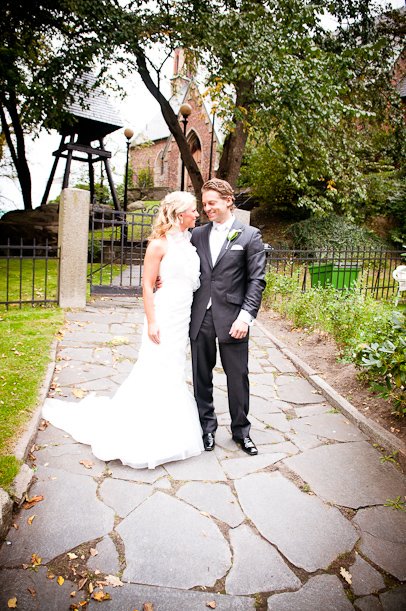
Recently I received an email from Tiffani asking me to look over a favourite preset of her. She was referring to a preset called Wedding Look that I published some years ago. I’m just going to let you read what she writes before I continue…
“I downloaded your present “weddinglook” about 3 years ago and I REALLY love it. I find myself using it quite a bit but always editing out the vignette from the action. I also tend to make the temperature a tad bit cooler and closer to skin tone. There is something awesome about this action that keeps me coming back to it, even though I tweak it so much..Â
I was wondering if you are aware of another preset that might be similar to wedding look but with those tweaks to it? No vignette and a little closer to skin tone (this one is really warm).Â
I know it’s a long shot, but I thought I would ask.”
Well Tiffani, It’s your lucky day and all others out there who are looking for the same style!
I’ve made some adjustments to your favorite preset and added 2 extra variations of it: Wedding Look Cool and Wedding Look Cool Bright.
Since this preset was made in LR3 at the beginning, I’ve now ALSO made a new version for LR4 and LR5. All can be downloaded in the same package below. Enjoy!
SOOC / ORIGINAL:

Wedding Look (The original version)
Wedding Look Cool:

Wedding Look Cool Bright:

Lightroom preset 365 of 365 31 Dec 2013 3:06 AM (11 years ago)

I can hardly believe it but today I’m publishing my last preset in my 365 project. 365 days ago I published the first one. At that point I didn’t realize how hard it would be to do this everyday for a whole year! To just publish a photo each day might even be hard but I’ve struggled with selecting photos, creating a preset, exporting the photos in different formats, making a blog post for each etc. Well you can imagine :-)
I’m still glad I did it, since it has put pressure on myself and motivated me to keep doing it each day.
So here is the final before and after photo for this time :-)
HAPPY NEW YEAR!
Original / Before:
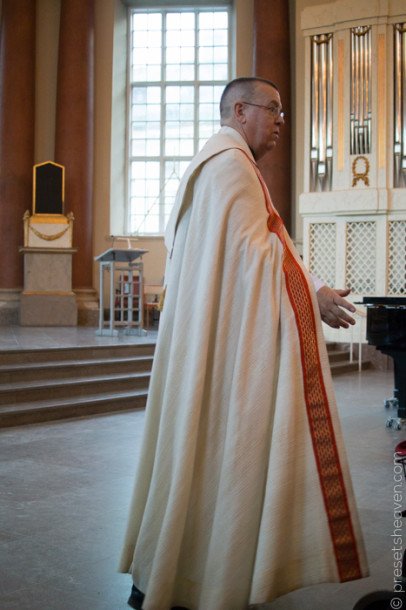
After:
Lightroom preset 364 of 365 30 Dec 2013 1:28 PM (11 years ago)
So close now!
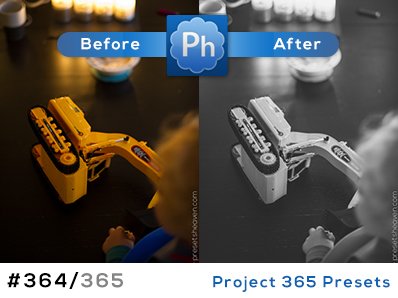
With only one day left in my project 365 series I here present Lightroom preset number 364 of 365!
Enjoy!
Original / Before:

After:

Lightroom preset 363 of 365 29 Dec 2013 3:46 AM (11 years ago)
Hello again dear friends!
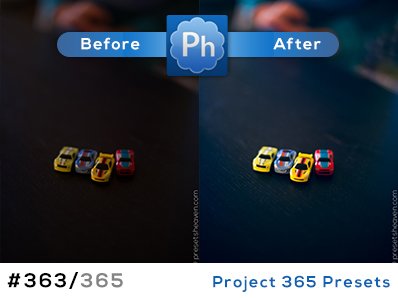
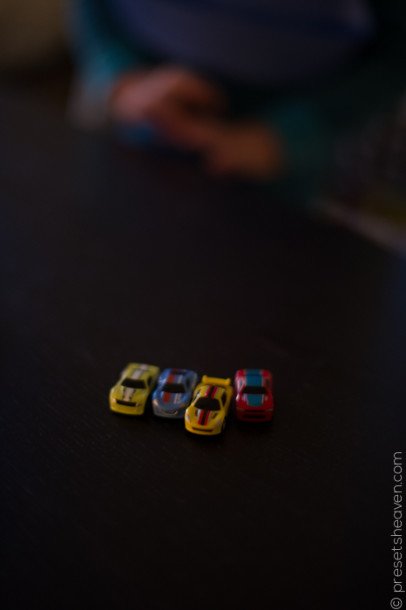
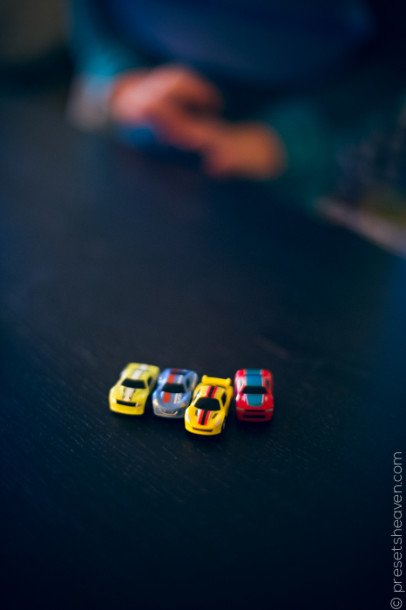
It’s been a busy Christmas this year and beside the stress I also got sick in the middle :-/ Anyways, here is Lightroom preset number 363 of 365. The small cars in the picture was a present to my oldest sons at Christmas day . It was shot in the early morning with only some candles as light:-)
Original / Before:
After:
Lightroom preset 362 of 365 28 Dec 2013 6:10 AM (11 years ago)
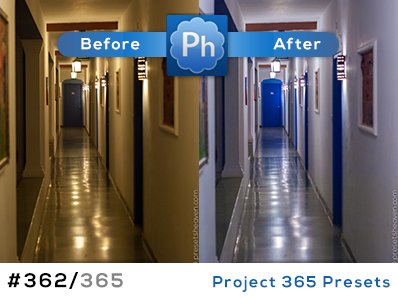
Not many days left now :-) This is Lightroom preset number 362 of 365!
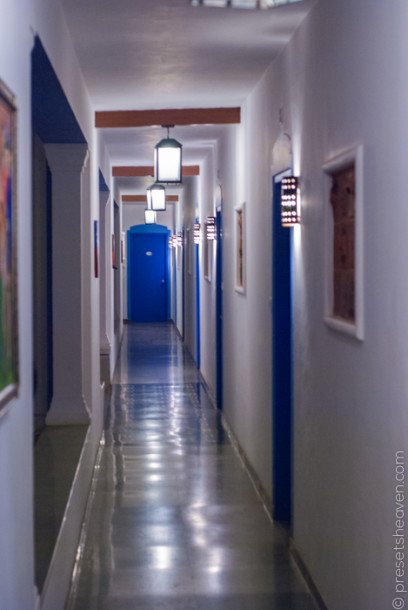
Original / Before:
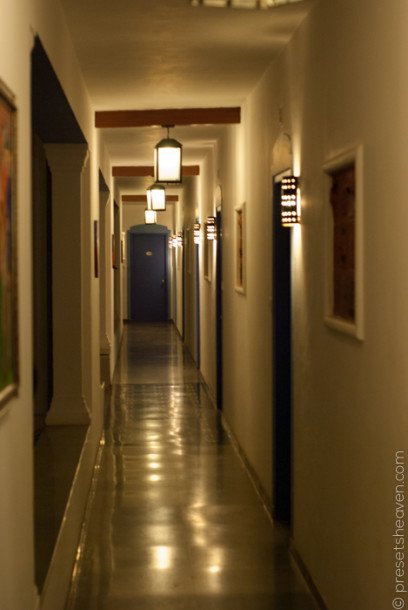
After:
Lightroom preset 361 of 365 27 Dec 2013 7:10 AM (11 years ago)
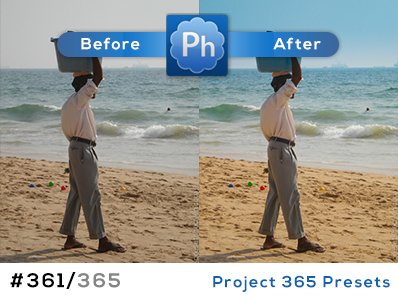
I’m getting closer and closer each day! Today I’ve made 361 presets out of 365!
Original / Before:

After:
Lightroom preset 360 of 365 26 Dec 2013 12:20 PM (11 years ago)
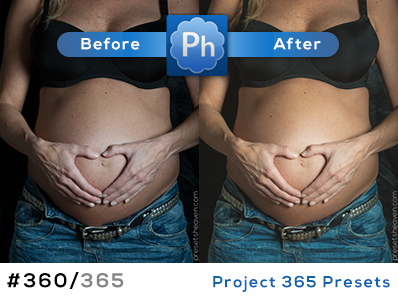
Hey all!
Check out today’s freebie. This is Lightroom preset number 360 of 365. Enjoy!
Original / Before:
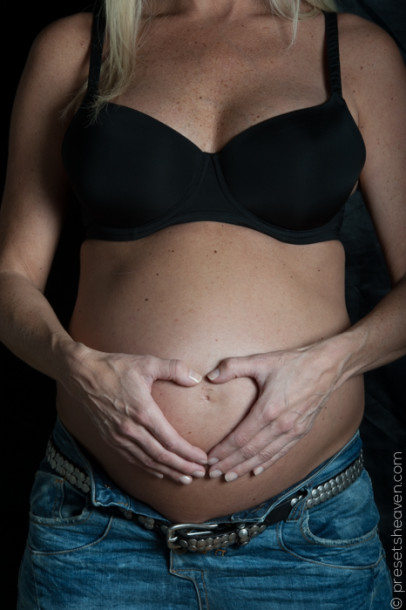
After:

Lightroom preset 359 of 365 25 Dec 2013 7:00 AM (11 years ago)
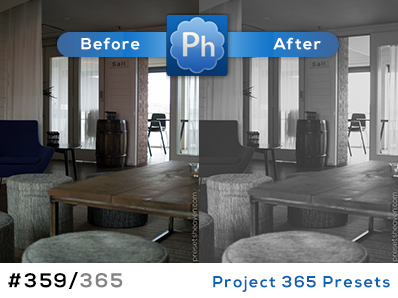
Ho ho ho,
There’s still some days left in my 365 Project. So here comes Lightroom preset number 359 of 365. Enjoy!
Original / Before:
After:
Lightroom preset 358 of 365 24 Dec 2013 7:00 AM (11 years ago)

Merry Christmas to all of you!
Here comes Lightroom preset number 358 of 365. Enjoy your evening!
Original / Before:

After:

Lightroom preset 357 of 365 23 Dec 2013 10:57 AM (11 years ago)
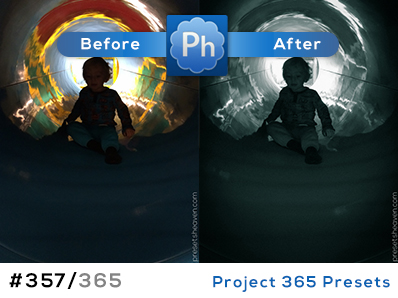
Hey all!
I’m a bit stressed right now so I’m just going to present today’s Lightroom preset, number 357 of 365 Â just like this :-)
Original / Before:

After:

Lightroom preset 356 of 365 22 Dec 2013 11:43 AM (11 years ago)

Hello my friends and followers!
This year is soon coming to an end and so far I’ve done 356 days with a new Lightroom preset each day! I would lie if I’d say it has been easy to do. Even the day when my second son came to birth, a preset was published! :-)
I really look forward the day when this project ends so that I can focus on something else for some time :-) . But before that happens, I still need to do another 9 presets :-)
Anyway, here is Lightroom preset number 356 of 365!
Original / Before:
After:
Lightroom preset 355 of 365 21 Dec 2013 3:22 AM (11 years ago)

Say hello to Lightroom preset number 355 of 365. Enjoy!
Original / Before:
After:
Lightroom preset 354 of 365 20 Dec 2013 11:01 AM (11 years ago)

Hello folks!
Here comes Lightroom preset number 354 of 365. Enjoy your weekend!
Original / Before:

After:

Lightroom preset 353 of 365 19 Dec 2013 11:31 AM (11 years ago)

Good evening!
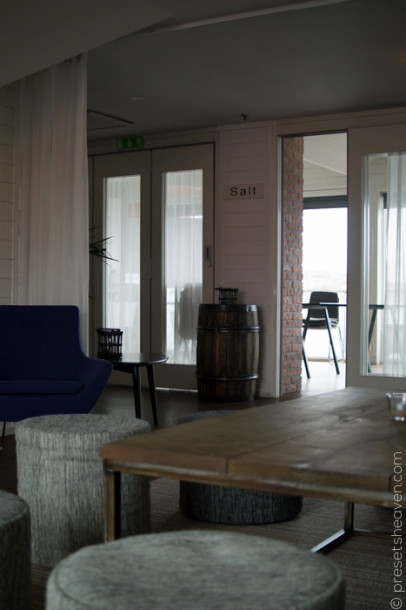
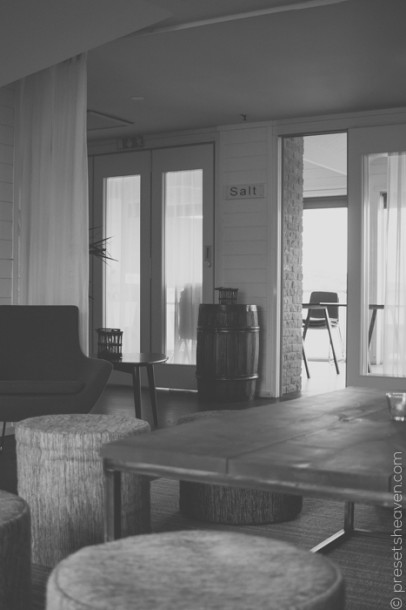
I just finished today’s Lightroom preset, number 353 of 365. Enjoy this black and white version.
Original / Before:
After:

Lightroom preset 352 of 365 18 Dec 2013 10:38 AM (11 years ago)

Hello reader!
I guess it’s not the first time you’re here, but if you are… This is a preset from my Project 365 series.
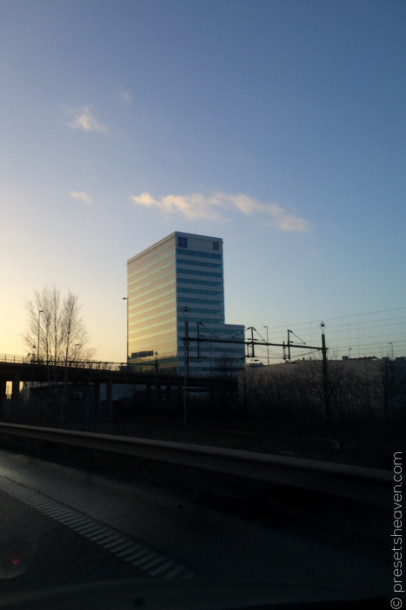
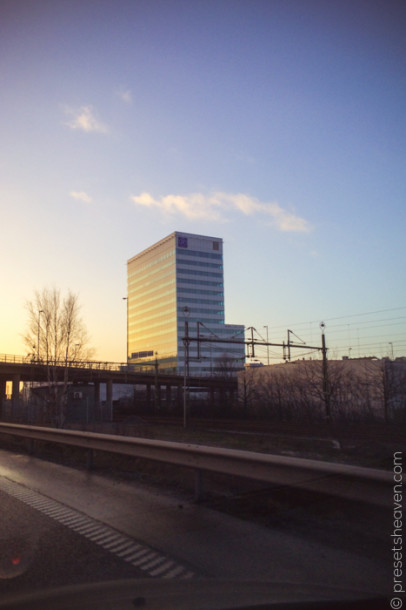
In fact, this is Lightroom preset number 352 of 365. I took this bad photo (taken with a cellphone in a car) and tried to make it at least a little better looking.
Original / Before:

After:

Lightroom preset 351 of 365 17 Dec 2013 11:04 AM (11 years ago)

Hey all!
Here comes Lightroom preset number 351 of 365. Â Enjoy!
Original / Before:

After:

Lightroom preset 350 of 365 16 Dec 2013 12:17 PM (11 years ago)

Hello dear reader.
As usual, this year, it’s time to present today’s Lightroom preset from my project 365 series.
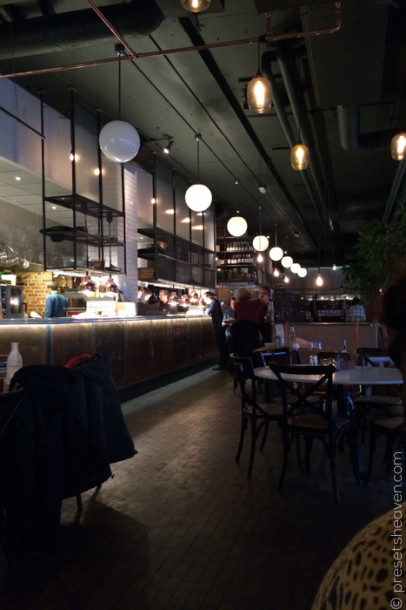
I started out this time by dragging the “shadows” slider as much as needed in order to bring out the details in the darker areas. Next up was to add a gradient filter in the sky to change the white balance and make some adjustments in the highlighted areas.
Original / Before:

After:

Lightroom preset 349 of 365 15 Dec 2013 11:33 AM (11 years ago)

This is Lightroom preset number 349 of 365 from my project 365 series.
Original / Before:

After:
