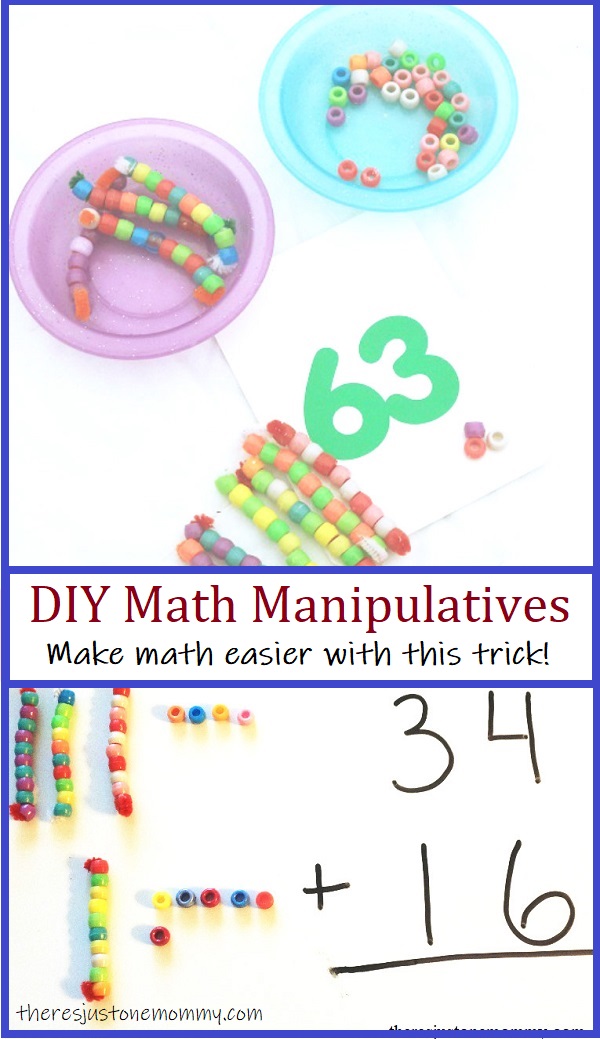
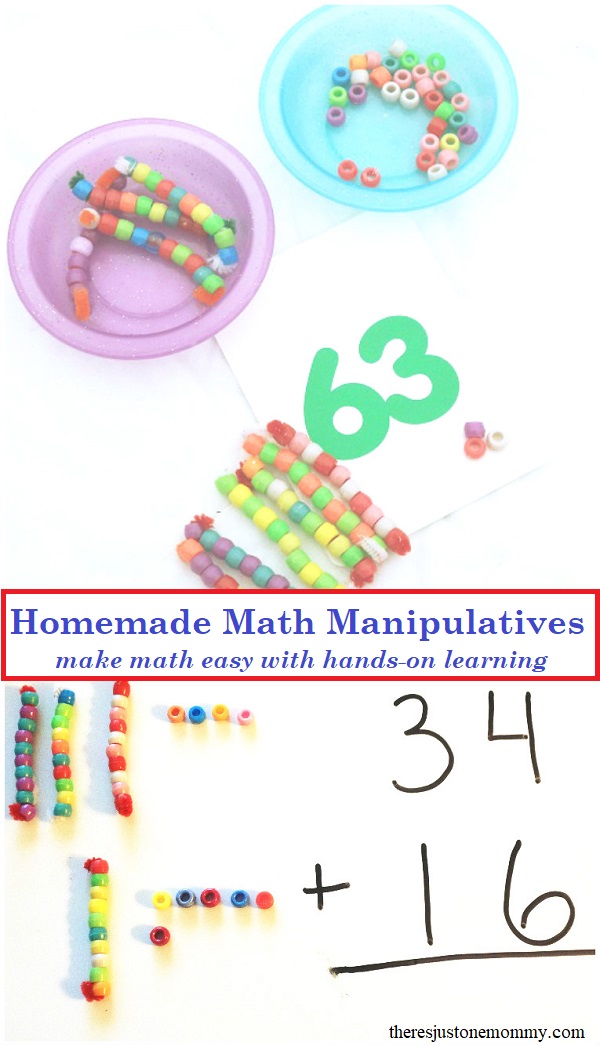
Make Learning Easier with DIY Math Manipulatives 20 Aug 2021 8:27 AM (3 years ago)
When it comes to math, having physical objects you can move, or manipulate, often helps kids to better understand the problem.
Kids will have fun creating these DIY Math Manipulatives. They are perfect for teaching kids how to do double digit math.
These will work as base 10 manipulatives, and can help kids visualize what is happening in double digit addition and subtraction problems, whether they are learning the “new” way or the “old” way.
Affiliate links are provided below for your convenience.
Having objects to move around when learning to add or subtract can really help kids visualize what is happening.
Popular objects to use in math centers include bear counters, buttons, and tiny erasers.
Your child may also enjoy using toy cars, mini figures, or other favorite items they have at home. When working on early subtracting you can even use playdough and play Subtraction Squish.
DIY Math Manipulatives
Materials Needed:
- Pipe Cleaners (Chenille Sticks)
- Pony Beads
- Scissors
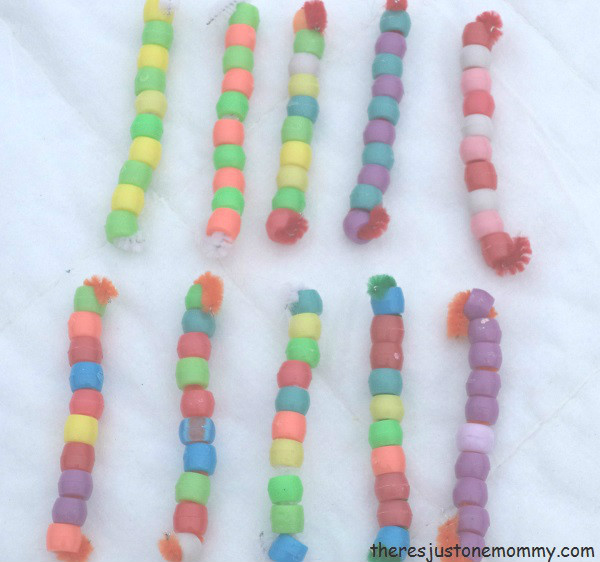
Cut the pipe cleaners into 2 1/2 to 3 inch (6 – 7.5 cm) long pieces.
Have your child string 10 beads onto each piece of pipe cleaner. You can further challenge them by having them put the beads in a pattern.
Bend the ends of the pipe cleaner pieces to help keep the beads on.
How to Use Homemade Math Manipulatives
Once you have your DIY math counters ready, use them for some hands-on math.
Get out 2 small plastic containers to hold your manipulatives.
Put the pipe cleaner sets of 10 in one bowl. Put a handful of single beads into the other bowl.
One way to use the DIY manipulatives is to talk about place value in two-digit numbers.
Write a two-digit number on paper, or use a set of number cards like we did.
Use the strands of 10 to represent the number in the 10’s place, and use the single beads to stand for the 1’s.
For instance, in the photo below, there are 6 strands of beads to stand for the 6 in the 10’s place, and 3 single beads for the 3 in the 1’s place in the number 63.

Do this several times together until your child seems comfortable with the concept. You can even stop to count each and every bead on your homemade manipulatives to prove you really have the same number of beads as the number.
There are so many ways to make math fun. Another way to use your manipulatives is to work on counting by 10’s.
As your child is counting by 10, line up the beaded pipe cleaner pieces — so there is one pipe cleaner with 10 beads for 10, two when they count 20, and so forth. This is a great way for them to see what counting by 10’s really means.
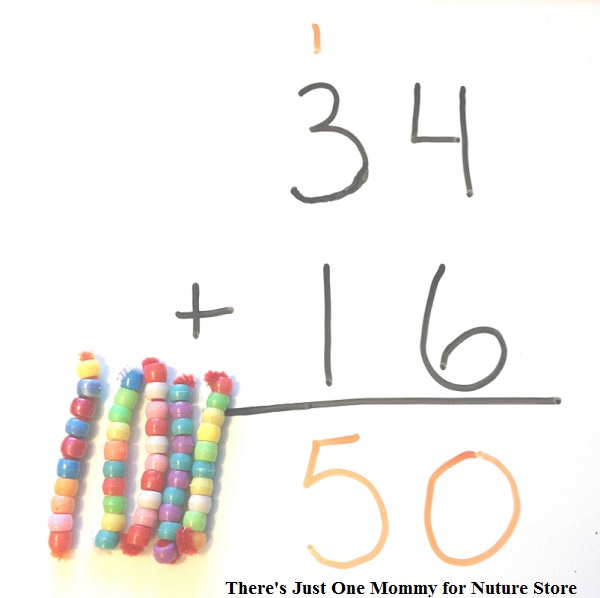
Of course these DIY math manipulatives are also great for helping kids visualize double digit math problems.
These are perfect for helping kids better visualize place value as well as what’s really happening when you add or subtract those double digit numbers.
Why spend money on expensive math counters when you can make your own? For other ideas on how to make your own base 10 manipulatives, check out The Measured Mom.
More fun hands-on math ideas:
- Kinesthetic Math Activities
- Simple Hands-On Measuring Activity
- Nerf Gun Math
- ABCs & 123s — Hands-On Learning Ideas
Note: This updated post originally was published November 28, 2014.
The post Make Learning Easier with DIY Math Manipulatives first appeared on There's Just One Mommy.


Engineer a Truss Bridge with Craft Sticks 18 Aug 2021 6:17 PM (3 years ago)
Are you looking for some fun and engaging STEM activities for kids to try either at home or in the classroom?
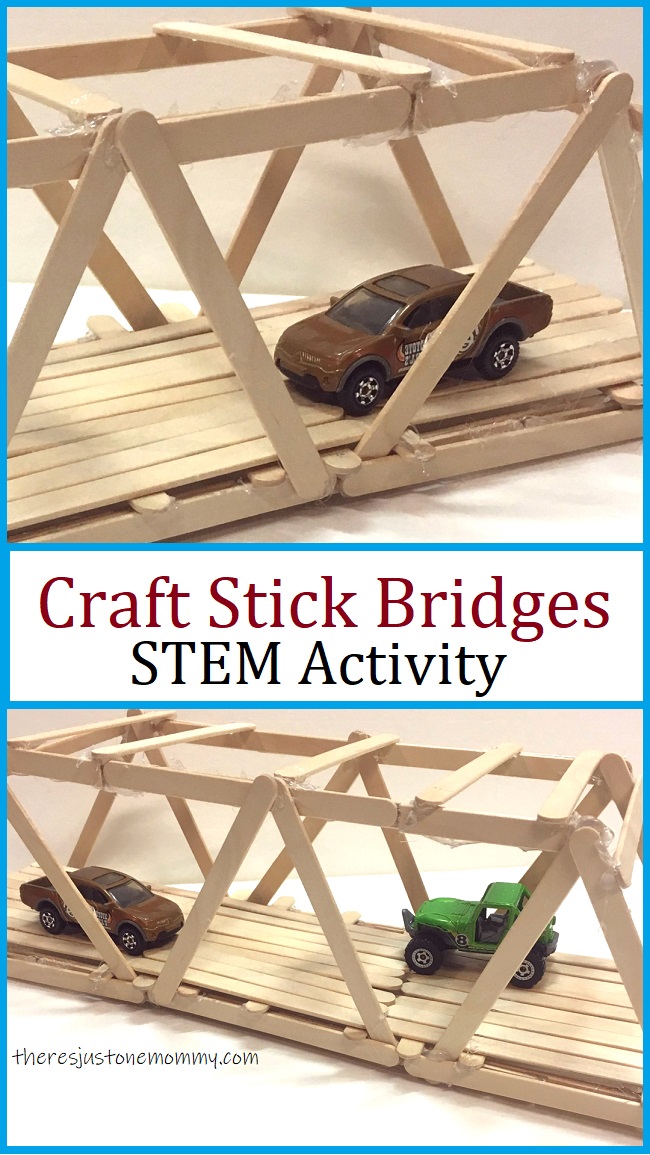
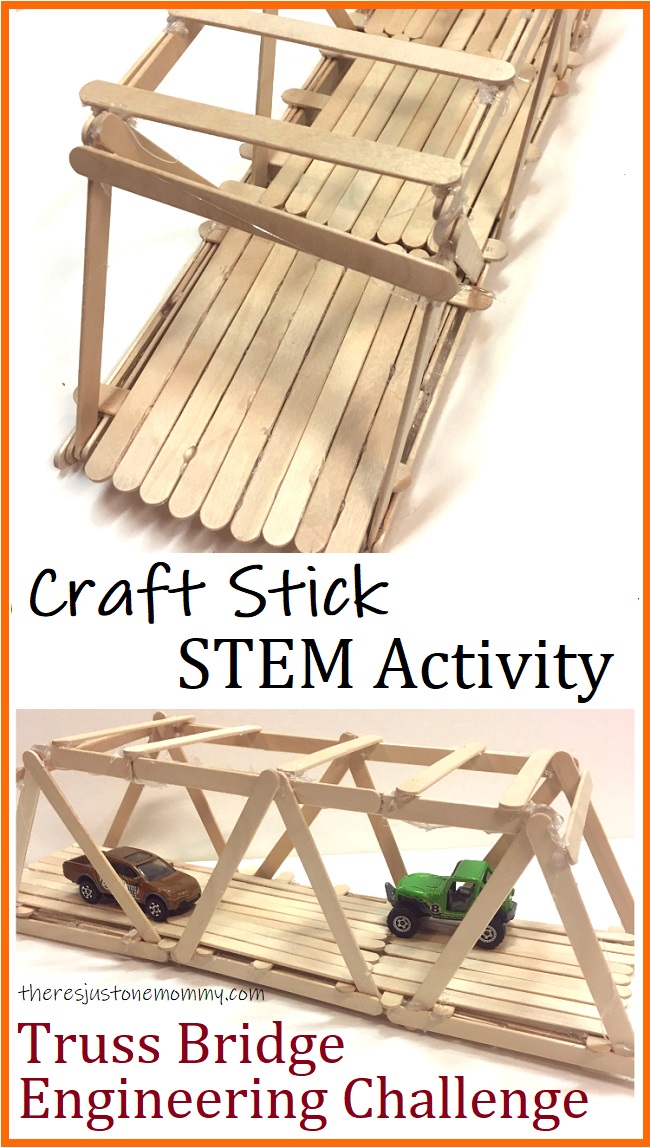
Kids of all ages will have fun with this craft stick bridge STEM challenge.
Younger kids will enjoy building and then playing with the end product. Older kids can use this activity to learn about the different forces acting on bridges and why they are designed the way they are.
When it comes to STEM supplies to always keep on hand, craft sticks are a favorite. They are versatile, can be used for numerous projects, and are inexpensive. (I love getting ours at the Dollar Store.)
Besides using them to build bridges, a favorite for kids of all ages is making a craft stick catapult. If you haven’t tried that one yet, I highly recommend it.
Before starting this project, you may want to discuss a few different types of bridges with your child. This is perfect to do while driving — there are so many different types of bridges you can see!
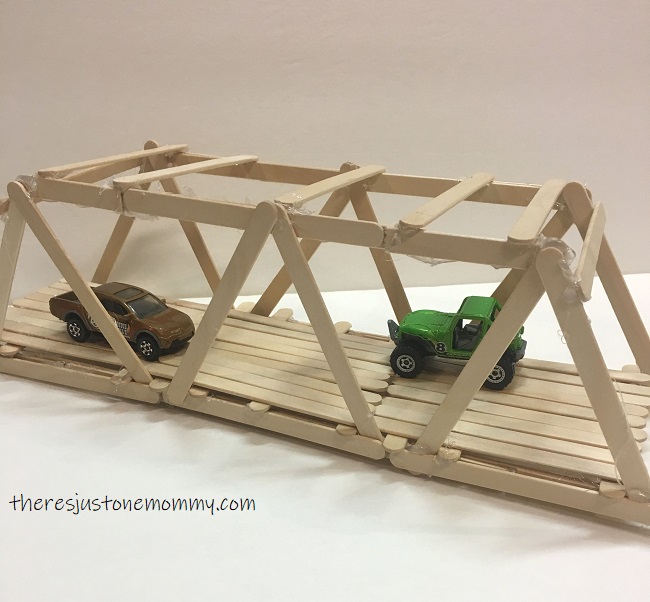
A truss bridge is actually one of the oldest forms of modern bridges.
The sides on a truss bridge consists of a series of triangles, making it very strong.
Craft Stick Bridge
Materials Needed:
Affiliate links have been used below. See my full disclosure for more info.
- Craft Sticks (You need at least 80.)
- Hot Glue Gun
- Scissors
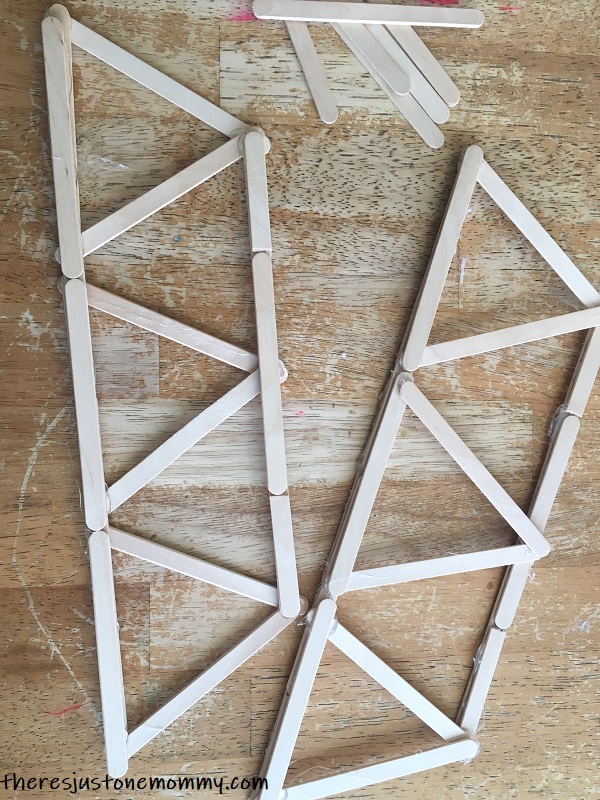
To create your own truss bridge with craft sticks, you will start by making 6 triangles.
Do this by arranging 3 craft sticks together to form a triangle, with their ends slightly overlapping. Hot glue them together. (Quick drying tacky glue is a great alternative for this STEM project, especially if you want to test how much weight your bridge can hold once it is built.)
Make 5 more triangles, just like the first one, until you have a total of 6.
Once you have your triangles made, set them aside. It’s time to make a base for the triangles to connect to.
Lay 3 craft sticks, end to end, in a straight line.
Cut another craft stick in half. Hot glue half of that craft stick on top of the first craft stick in your line of 3, making sure their curved ends are flush together. 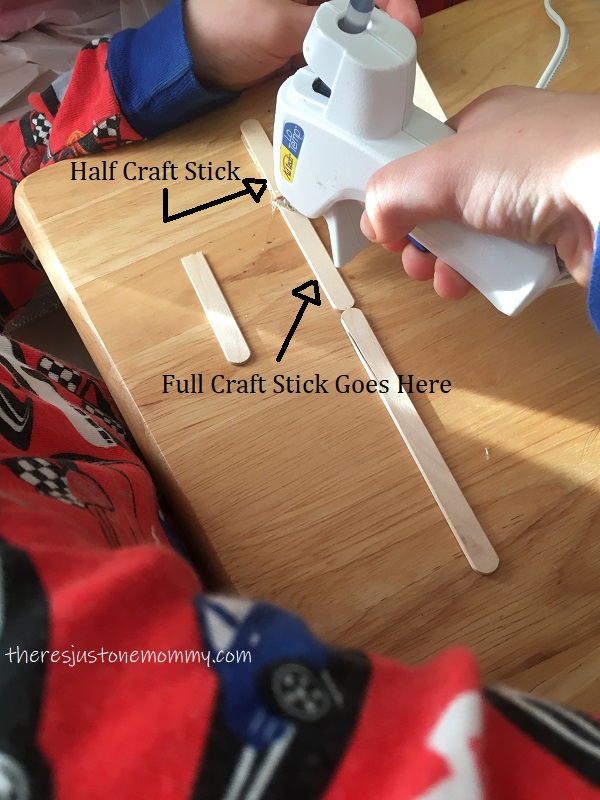
Take 2 more whole craft sticks and glue them onto the row, covering up the seams where the bottom craft sticks meet each other.
Finally, glue on the other half of the craft stick you cut in half.
Repeat this process, so you have 2 rows of craft sticks that have been glued together.
Once that is finished, hot glue the bottoms of 3 triangles to one of your rows of craft sticks. Repeat with the other 3 triangles and craft stick row.
To make the tops of your bridge’s sides, you will do a similar process.
Start by laying 2 craft sticks end to end.
Cut another stick in half and hot glue half of it on top of one of your 2 full craft sticks, making sure the curved ends match up.
Hot glue a full craft stick, making sure it touches the edge of your half stick and coveres up the seam of the bottom 2 craft sticks.
Then glue on the other half piece.
Repeat this process so you have 2 short rows of craft sticks glued together.
Now glue these short rows to the top portion of your triangles. This will complete your bridge’s sides.
Once your sides are complete, it is time to start building the bridge’s base.
Stand your sides up and hot glue one craft stick in the middle of your middle triangle on one of the sides to the other side. Make sure the craft stick lays flat.
Hot glue a few more sticks across the bridge’s bottom. I suggest placing one in the middle of each triangle, and one at the corner of each triangle. These will be supports for the bridge deck.
(The pic below was taken BEFORE we finished adding in all of the craft sticks at the bottom.)

To make a solid bridge deck that toy cars can travel on, you wil need to build a bridge deck.
Hot glue craft sticks perpendicular across those supports you just added. Make sure they touch side to side.
It took us 9 craft sticks to go from one side to the other.
You will repeat this process 3 times to make a solid base that is the entire length of your bridge.
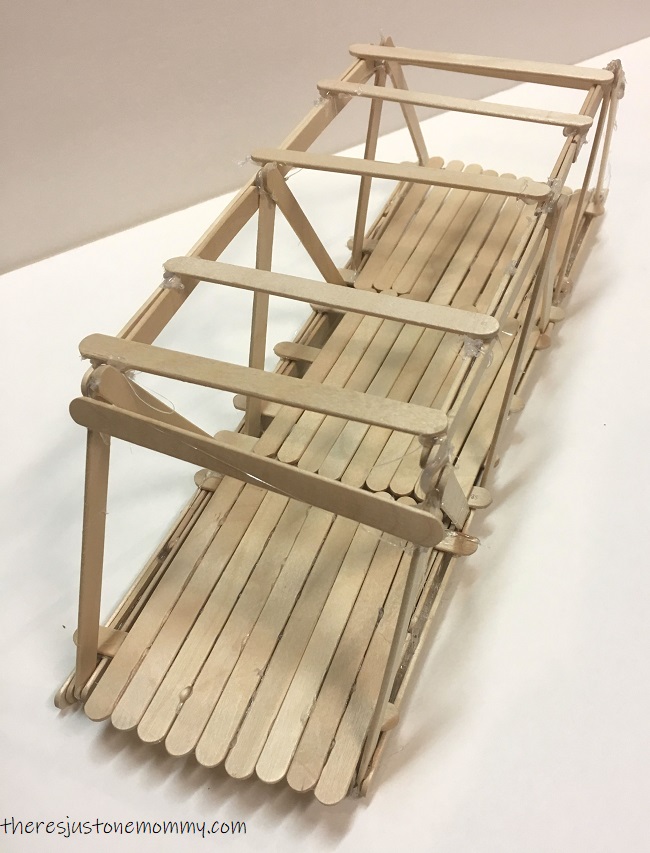
For added strength at the top of your bridge, add a craft stick going across the middle. Then add a few more, spaced out evenly, going towards each end.
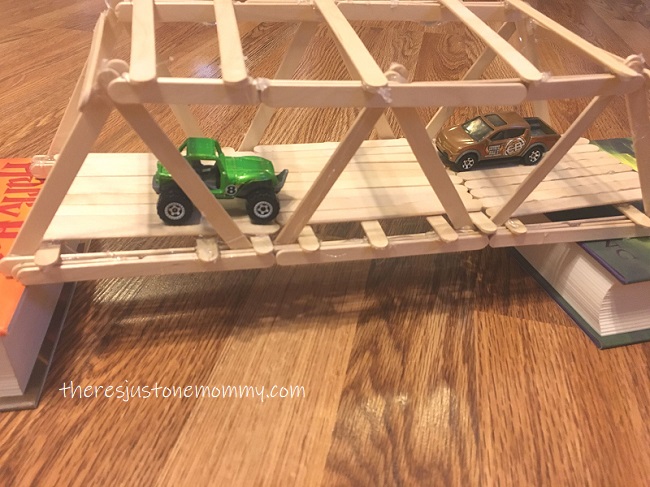
Once your bridge is complete, it’s time to test it out.
It’s perfect for driving small cars over.
But to make it even more of a STEM activity, you may want to challenge your child to see how much weight it can hold.
Craft Stick Truss Bridge
To test the strength of your bridge, place the bridge so its ends rest on 2 chairs.
Tie a small bucket to the middle of the bridge’s base.
Slowly fill the bucket with small weights, such as ankle weights.
If small weights aren’t available, you can also use sand to test how much weight it can hold. Just weigh the bucket of sand afterwards to determine how much it weighs.
Want to extend the activity?
Challenge your child to make a longer bridge and see how much weight it can hold.
Can they figure out how to construct it so it can hold the same amount of weight? Can they make it stronger?
How a Truss Bridge Works
Bridges have lots of forces that act on them. Gravity is one of those forces since bridges don’t have ground under them to help support them.
Bridges also have to deal with changing loads, not only do they have to support their own weight, but also the weight of whatever may travel over them, which is constantly changing. The triangle shape on a truss bridge helps with this.
Truss bridges use triangles to help make them stronger. Triangles are a very strong shape because the force added to a triangle gets spread out evenly on all 3 of its sides.
There are also several other factors that act on a bridge, such as tension (a force that stretches and pulls outward) and compression (a force that squeezes inward). In a truss bridge the triangle shapes help distribute these.
You can find out more about how different types of bridges work at Bridge Masters Inc.
If you liked this craft stick bridge STEM activity, you will also like:
- Craft Stick Rubber Band Shooter
- Mechanical Hand Made with Straws
- How to Make a Lemon Battery
- Build a Paper Cup Water Wheel
The post Engineer a Truss Bridge with Craft Sticks first appeared on There's Just One Mommy.
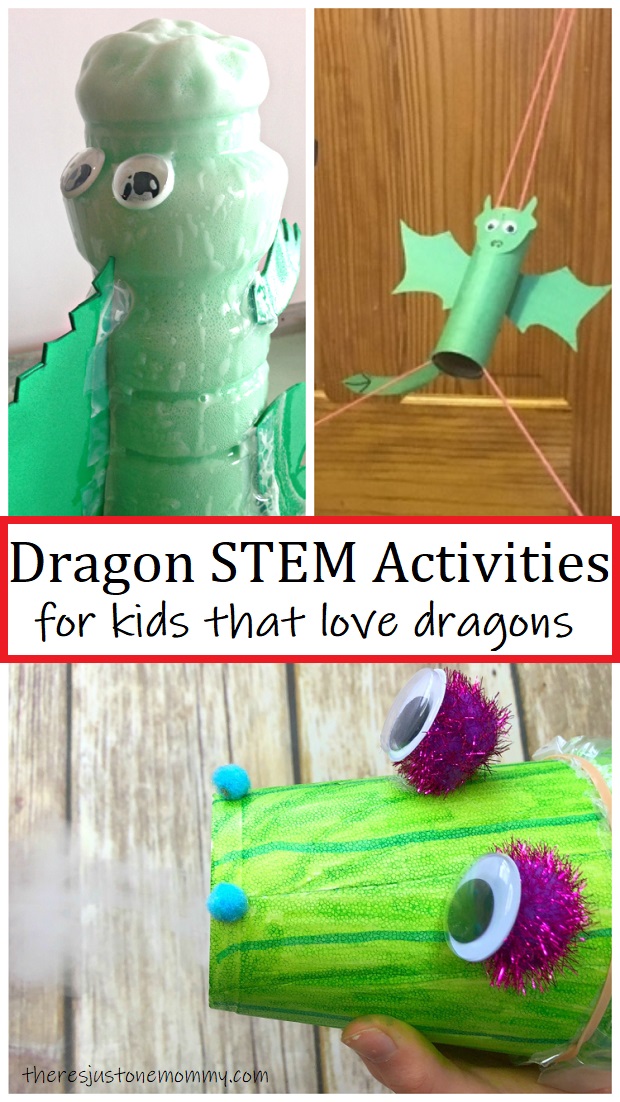
Dragon STEM Activities 30 Jul 2021 11:54 AM (3 years ago)
Do you know a child that loves dragons? Do they also love STEM activities for kids?
Then they are absolutely going to love these Dragon STEM Activities.
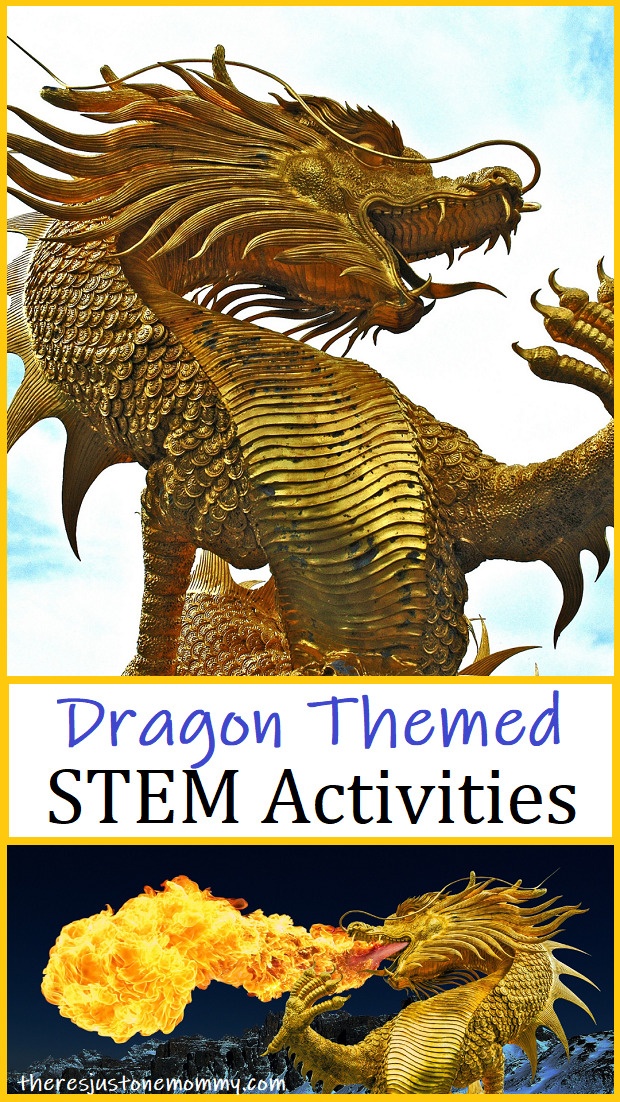
Stories and paintings of dragons have captured the imagination of people for centuries. It’s no wonder that kids are often fascinated by these mythological creatures.
These dragon activities are sure to delight and inspire your child’s imagination.
Your child will also love this homemade dragon pinata’ — fun to build and perfect for celebrations.
Why Do STEM Activities?
STEM activities encourage experimentation and hands-on learning. STEM gives kids a chance to apply previously learned knowledge and can help them better understand concepts and ideas they may be learning in school.
Not only that, but STEM (and STEAM) projects give children a chance to explore ideas, work together, and to problem solve. These are skills that are needed as children become adults.
On top of all the great benefits, STEM is fun!
Dragon STEM Activities
Flying Dragon — Part craft and part STEM, and so much fun to play with! Make your dragon craft “fly” up the string in this dragon STEM project.
Crystal Eggs Experiment — Imagine what a dragon egg might look like. These beautiful crystal-covered eggs look like ones a dragon may guard. Kids of all ages will be delighted with the results of this experiment.
Chomping Dragon — With just strips of cardboard and a few brass fasteners, your child can create a dragon whose mouth can open and close.
Green Dragon Fire — What color fire does a dragon breathe? In this dragon science experiment you will learn how to make green flames appear. You might even learn a little chemistry along the way.
Foaming Dragon — Start off building an adorable dragon craft. Then add science to create a foamy mixture that erupts from the dragon’s mouth. This one is perfect if your child loves the elephant toothpaste experiment.
Build a Dragon — Challenge your child to use marshmallows, toothpicks, and drinking straws to build their very own family of dragons.
Smoking Dragon — Create a dragon head with a Styrofoam cup. Then discover how to use dry ice to make puffs of smoke come from your dragon’s mouth.
Lego Dragon — Follow the simple instructions to engineer your own mini dragons using the building blocks you already own. Then, challenge your child to design their own dragons.
When you finish with these awesome STEM activities with dragons, you may want to celebrate with this DIY dragon cake.
Or, try a few of these other fun ideas:
The post Dragon STEM Activities first appeared on There's Just One Mommy.
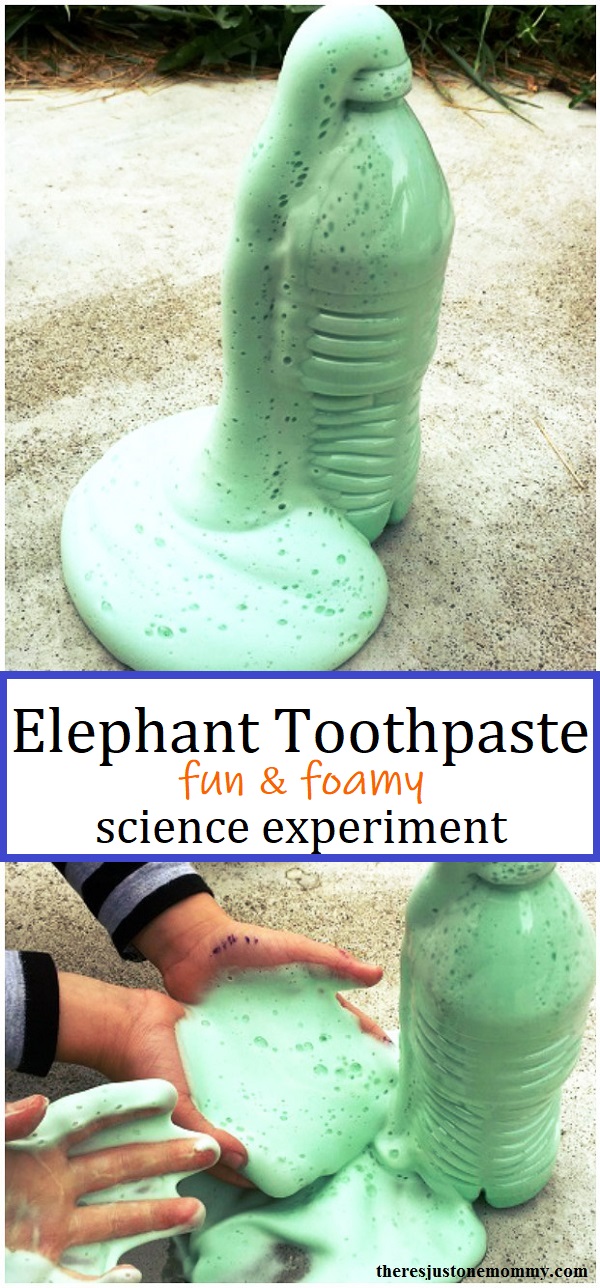
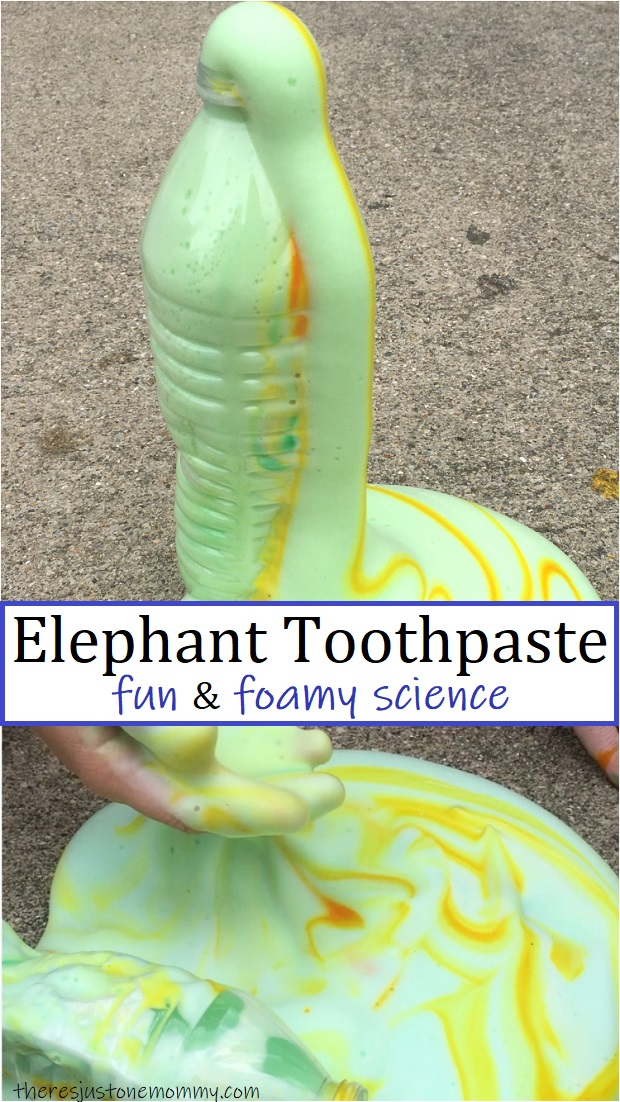
Fun and Foamy Elephant Toothpaste Experiment 29 Jul 2021 8:41 AM (3 years ago)
If you are looking for a fun, messy science activity that will wow the kids and doesn’t cost a lot of money, you need to try the Elephant Toothpaste experiment.What is elephant toothpaste?
It’s a super fun, and inexpensive, science experiment that results in a foamy explosion.
It is similar to the soda pop geyser, but because you only need small amounts of the materials used, you can do the experiment over and over again without breaking the bank.
It’s also less sticky, and cleans up quickly and easily if done outside.
Science experiments like this one can easily be turned into a more well-rounded STEM project.
Math is already involved, since your child will be measuring ingredients. And, of course, the chemical reaction is science.
After trying the experiment with the plastic bottle, you may want to encourage your child to engineer a different container to do the experiment in. Can they create a volcano with Legos? In the fall they can even use a small pumpkin for this twist.
If your child loves STEM, they may also like some of these fun STEM activities for kids.
Elephant Toothpaste Recipe
Affiliate links have been used below. See my full disclosure for more details.
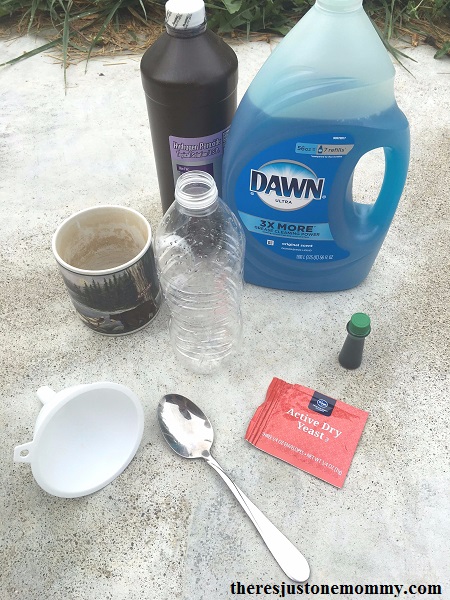
Materials:
- A Clean 16 oz. Plastic Bottle
- Liquid Dish Soap
- 1/2 Cup Hydrogen Peroxide
- 1 Tablespoon Dry Yeast
- 3 Tablespoons Warm Water
- Food Coloring (optional)
- Small Cup
- Funnel
- Spoon
For the ultimate reaction, which can produce foam that shoots 5 or more feet into the air, you need to use what’s called 20-volume (or 6%) hydrogen peroxide. This peroxide is stronger than what you find at the grocery store. In the U.S. you can find this at hair salons or online.
We couldn’t wait to give it a try, so we used the standard 3% peroxide we had in the medicine cabinet.
Although the reaction wasn’t as extreme, we were not disappointed with the results.
Why Is It Called Elephant Toothpaste?
The chemical reaction in this experiment is often referred to as “elephant toothpaste” because when it foams out of the mouth of the bottle it looks a lot like when you squeeze toothpaste out of a tube.
Some joke that if it were really toothpaste, it would be the amount an elephant would need.
Obviously, since liquid dishsoap is used, it should NOT be ingested.
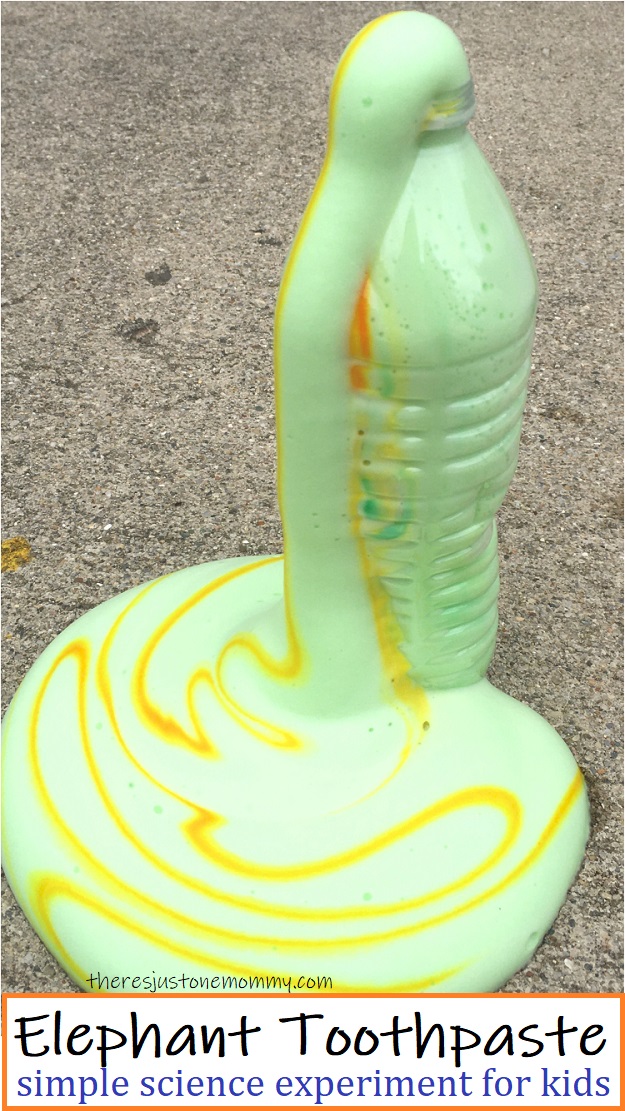
To make it look even more like toothpaste, you can squirt a few drops of food coloring along the inside walls of your empty bottle before doing the experiment. This causes stripes to appear, similar to what you may see in several major brands of toothpaste.
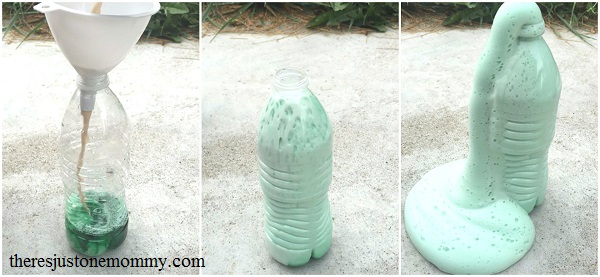
How to Make Elephant Toothpaste
Like I mentioned earlier, this experiment can get messy. It is best done outside, where you can clean up easily with a hose.
Begin by squeezing 4-5 drops of food coloring into your empty plastic bottle. This step is completely optional, but the color does make the reaction even more fun to watch.
Add 1 tablespoon liquid dish soap and swirl the bottle around to mix it with the food coloring.
Add your hydrogen peroxide to the bottle. Swirl it again to make sure it mixes well.
IF you want stripes, you can add a second color of food coloring, this time making sure your drops run down the inside walls of your bottle.
In your small cup combine the warm water and yeast together and stir for 30 seconds, making sure the yeast is dissolved as much as possible.
Use the funnel to quickly pour the yeast mixture into the bottle.
Remove the funnel quickly, as the reaction will start almost immediately.
If you use the 6% hydrogen peroxide it can shoot several feet into the air, so be sure to get out of the way quickly.
How Does Elephant Toothpaste Work
Yeast contains an enzyme called Catalase. This enzyme breaks down hydrogen peroxid (H2O2) into oxygen gas and water (H2O).
The oxygen gas gets trapped in bubbles made by the dish soap, producing that fantastic foamy solution that erupts out of the bottle.
Once the foamy explosion is finished, you will notice the bottle and foam are warm to the touch. That’s because the experiment not only causes a chemical reaction that produces the foam, it also causes an exothermic reaction — meaning it produces heat as well.
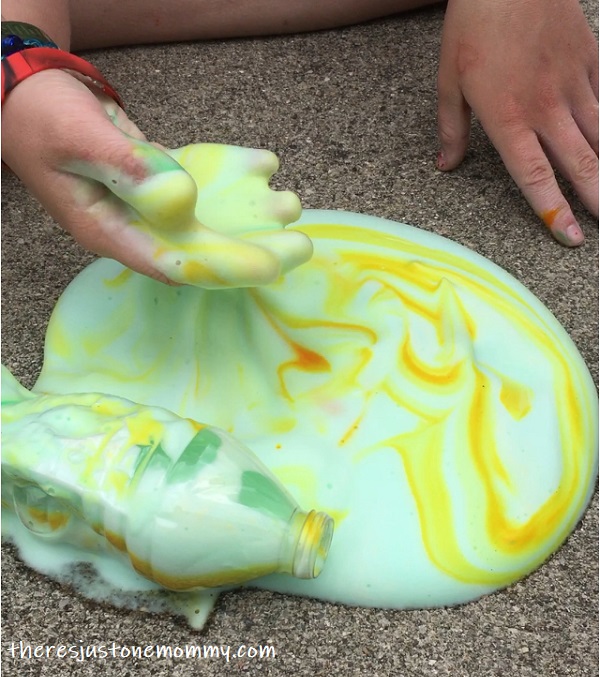
If you use the standard 3% hydrogen peroxide, then the foam is safe to touch. (I’ve heard 6% hydrogen peroxide can cause skin irritation to those with very sensitive skin.)
If your kids are anything like mine, they will find it hard to keep their hands out of it. Mine spent a good 15 minutes playing in the foam afterwards.
More Fun with Elephant Foam
Try some of the ideas below to take your child’s learning even further.
- Does the amount of yeast used change the amount of foam produced? Try using more or less yeast to see what happens.
- What about using more soap? Experiment with different amounts to see what happens.
- Does the reaction still work if you don’t mix water with the yeast before adding it to the soap mixture?
If you liked this post, you’ll also like:
- Simple Vanishing Ghosts STEM Activity
- Make Scrumptious S’mores with a Solar Oven
- Amazing Rising Water Experiment
Originally published June 29, 2017.
The post Fun and Foamy Elephant Toothpaste Experiment first appeared on There's Just One Mommy.
Shark Party Games — Perfect for Shark Week or a Shark-Themed Birthday Party 13 Jul 2021 12:00 PM (3 years ago)
Sharks are some of the largest, most fascinating creatures in the ocean.
It’s no wonder these awesome sea creatures have inspired numerous books and movies. There is even a whole week dedicated to sharks each summer.
Whether you’re looking for some family friendly activities to do during Shark Week, or you are planning a shark birthday party, these DIY Shark Party Games are sure to get the kids smiling and having fun.
You may also want to check out some of these other shark games for kids.
Affiliate links have been provided below. See my full disclosure policy here.
Do you know a child that loves sharks?
Like so many boys his age, my son loves sharks. He has even had a shark-themed birthday party, complete with a variety of shark party games and a “Jawsome” DIY shark cake.
If you are looking for shark party ideas, these games are a great place to start.
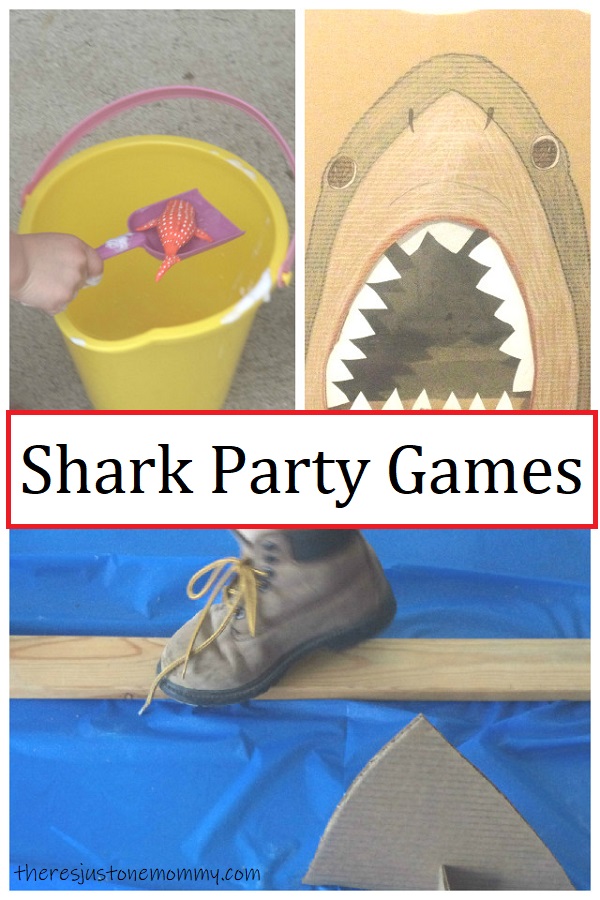
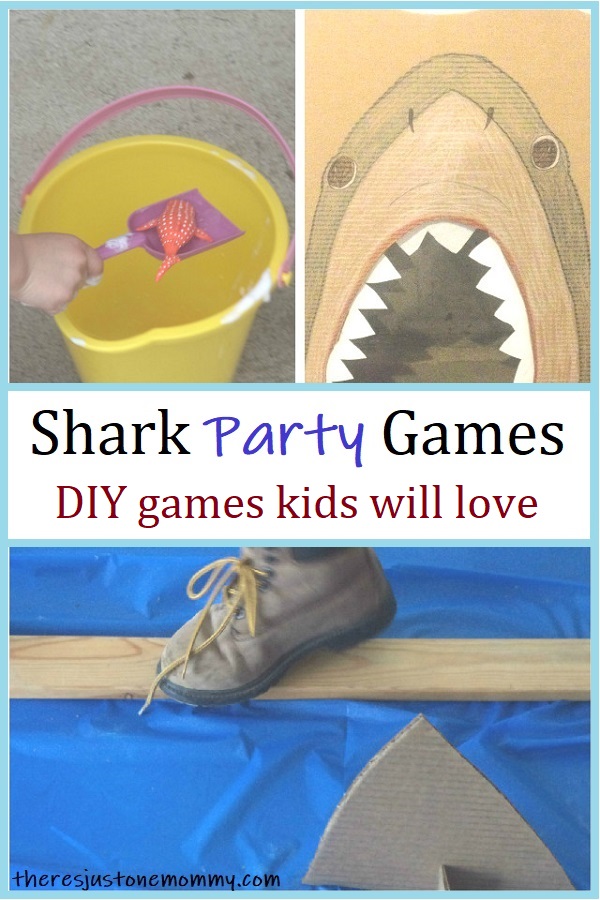
DIY Shark Party Games
These 4 simple DIY Shark themed Games are perfect for a shark birthday party. They’d also be fun to play during Shark Week in the summer.
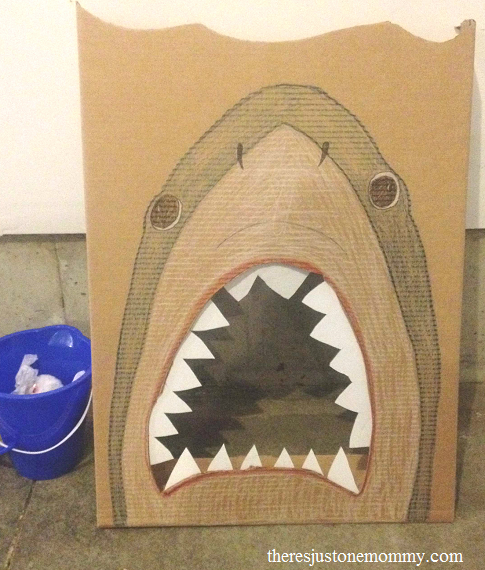
Feed the Shark Game
Start by creating your very own game of “Feed the Shark.”
Use a large piece of cardboard to create this simple ball toss game.
Simply draw a basic shark head and cut out the mouth. You can even add in some pointy teeth with white construction paper.
(Want to see more detailed directions on how to make your own cardboard ball toss? Check out our Feed the Monster game.)
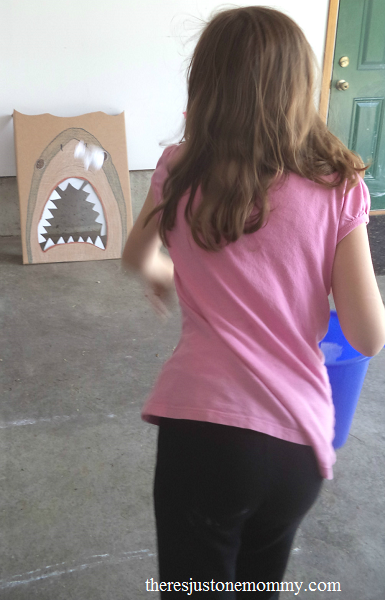
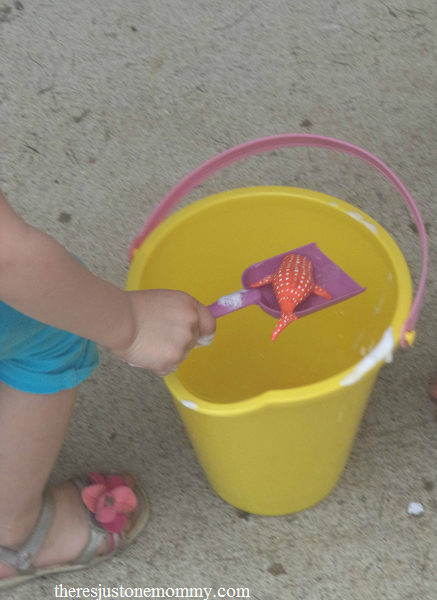
To feed your shark, tape tissue paper tails to some plastic ball pit balls to make fish. You could also use bean bags, or you could even use rolled up socks. (Sometimes simple is best!)
Put your “fish” in a bucket, and have kids take turns tossing the fish into the shark’s mouth.
Kids of all ages will have fun “feeding the shark.”
Have older kids stand farther away from the target. Younger kids can stand closer to it.
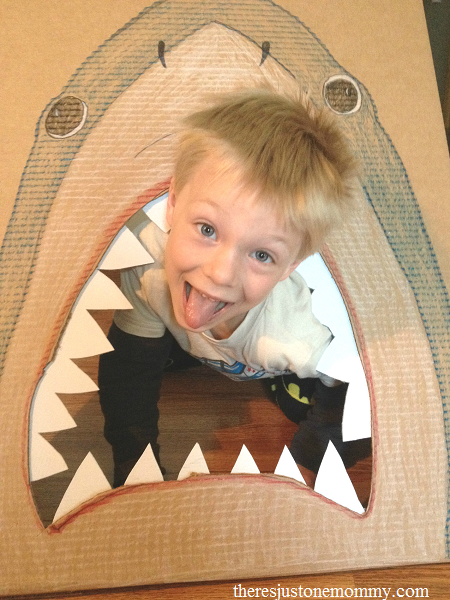
What’s great about this game is that once you are finished playing, it makes a fun picture opportunity!
It’s perfect to print out and hand to party guests as a fun souvenir.
Related post: The BEST Shark Books for Kids.
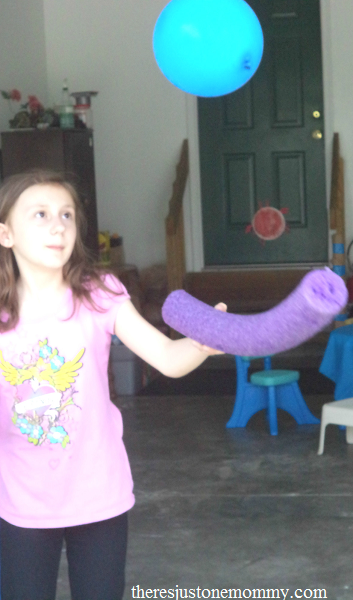
Keep the Shark Away
Another very simple party game is “keep the shark away.”
Use a permanent marker to draw shark faces on blue balloons.
Cut several pool noodles in half.
Have kids try to keep the balloons in the air, and not let them touch their bodies, while only using the pool noodles pieces to keep the “sharks” away.
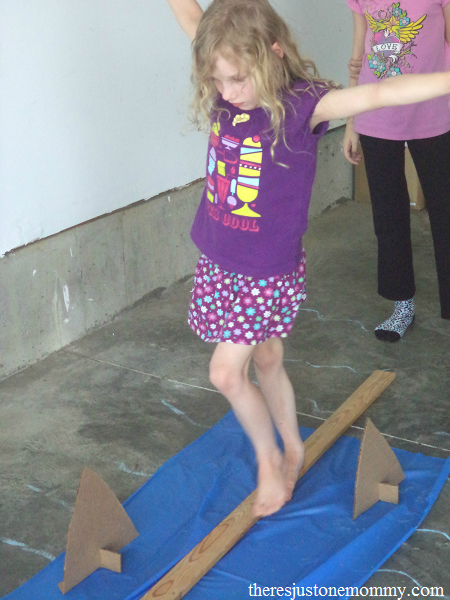
Walk the Plank
A wood board makes a fun pretend plank for this game.
Turn it into a kids shark game by placing a blue plastic tablecloth under the plank to serve as your ocean.
Create shark fins by cutting large triangles out of cardboard.
Cut a slit in the bottom of the triangle and slide a smaller rectangle of cardboard into the slit to make your triangle fin stand up.
Place the fins around the plank.
The object of the game is to walk the plank and not fall in to the shark-infested water.
Save the Sea Animals Game
Looking for one more shark themed party game?
Have kids save toy sharks and other sea animals in the Save the Sea Animals game.
There you have it, simple and fun shark party games, just in time to add to your Shark Week activities.
You may also like:
- Educational Shark Themed Games
- Wacky Water Wing Game
- Fun Games for Kids
- Super Awesome Camp Crafts
- How to Have an Awesome Star Wars Party on a Tight Budget
Originally published June 20, 2015.
The post Shark Party Games — Perfect for Shark Week or a Shark-Themed Birthday Party first appeared on There's Just One Mommy.
Flying Dragon Craft 9 Jul 2021 11:03 AM (3 years ago)
Cardboard tubes (some people call them paper rolls) are perfect for creating crafts that engage children in pretend play once craft time is finished.
They are also great for using in a variety of STEM activities for kids.
This Flying Dragon Craft is a fun cardboard tube craft that doubles as a simple STEM activity.
It uses materials you probably already have on hand, which means your child can get busy creating their very own flying dragon toy, without you having to hunt fancy craft stores for supplies.
Do you know a child that loves dragons?
Dragon activities like this one are sure to be a hit!
Your child may also love this homemade dragon cake and homemade dragon pinata. They’d be fun dragon crafts for kids that are older, or make them for a dragon themed party.
This dragon craft had my son roaring and smiling as he made his homemade dragon fly over and over again. Your child is going to love it, too!
Flying Dragon Craft
Affiliate links have been used below. See my full disclosure for more details.
Materials Needed:
- empty cardboard roll (4-6 inches long)
- construction paper
- yarn (or heavy string)
- markers
- wiggly eyes
- scissors
- craft glue
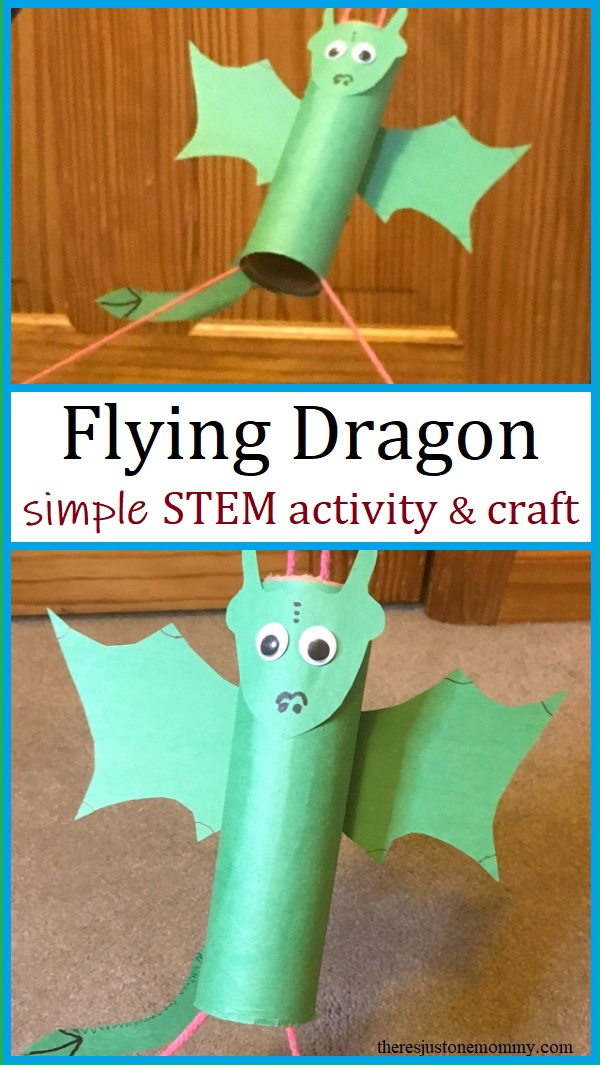
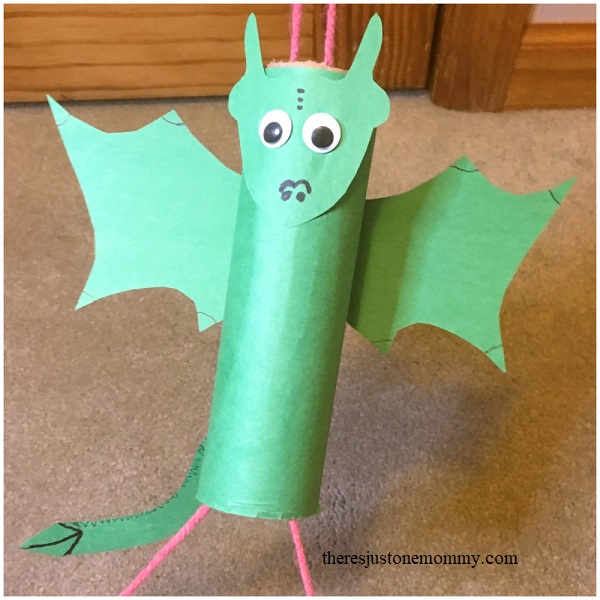
Decide what color you want your dragon to be.
We chose green, but your child can make their cardboard tube dragon whatever color they choose. They might even want to make it have multiple colors, using a different color for the wings, body, and head.
Measure the length of your cardboard tube and cut a strip of construction paper that wide so it will cover the tube.
Glue this paper around the tube. You could also use clear tape to hold it in place.
Fold a piece of construction paper in half and draw a wing shape on the paper, with the folded edge being where the wing would meet the dragon’s body. Cut out the wing shape so that when you unfold it, you have 2 wings that are connected.
Glue the wings to the cardboard tube.
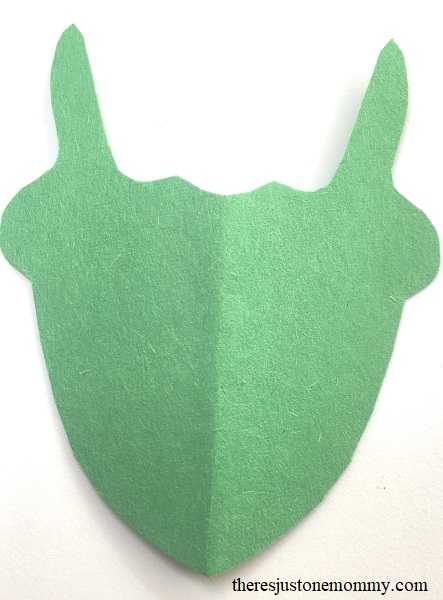
Use construction paper to create a tail and a head for the dragon. For our head we cut a piece that looks a bit like an acorn with 2 small horns.
Your child may choose to cut a simple circle shape. Or they may get even more creative when making their paper dragon head.
Attach the wiggly eyes to the head and use markers to complete the dragon’s face.
Glue the tail and head to the cardboard tube.
Let the glue dry completely before doing the next part.
How to Make a Flying Dragon Toy
Cut 4-5 feet of yarn (or heavy string).
Fold it in half and loop it over a doorknob so an equal amount hangs on both sides. You could also hang it from a hook or the knob on a cabinet.
Thread the loose ends of the yarn through the top of your cardboard dragon so they stick out the bottom.

To make the dragon fly, hold the two ends of the yarn, one in each hand, and pull your hands apart to separate the yarn.
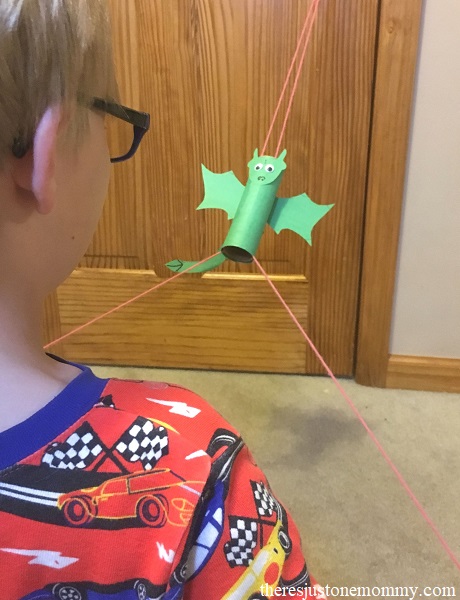
As you move your hands apart, the dragon will fly to the top of the yarn. When you bring your hands back together, the dragon will slide back down.

Dragon STEM Activity
This simple kids dragon craft is also a wonderful STEM activity.
The yarn is actually acting like a lever in this activity.
Pulling the yarn pieces apart and to the sides changes the angle of the yarn to the tube. The yarn, working as a lever, pushes the dragon up.
When you change the angle of the yarn so it’s back to the center, the dragon slides back down with the help of gravity.
We had so much fun with this flying dragon craft and STEM activity. I know your child will love it, too.
You may also enjoy:
Our Favorite Craft Materials
Updated from November 2, 2018.
The post Flying Dragon Craft first appeared on There's Just One Mommy.