Cathy Makes a Card Live: the giveaway post 16 Apr 9:00 AM (yesterday, 9:00 am)

If you’d like to be entered for a chance to win the card from today’s livestream (April 16, 2025), just leave a comment below! I’ll choose a winner at random by next week’s live.
All supplies for this week’s livestream will be listed at the bottom of this post. In the meantime, check out the live (or replay) here:
I have to say it: I hate to be giving this one away! 


SPECIAL OFFER FROM ALTENEW
Altenew is offering 40% off to my YouTube viewers on the 9 x 12 Ultra Sticky Mat: Grid!

You can use the code CZXALT4FUN3 at checkout or just click on this button below and the discount will be automatically applied at checkout when you add it to your cart.
And there are more savings! Save 15% on all Fresh Round Dye Ink Pads through April 17.

Thanks to Altenew for the promotion and thank you for stopping by!
Photos of today’s card are coming soon.
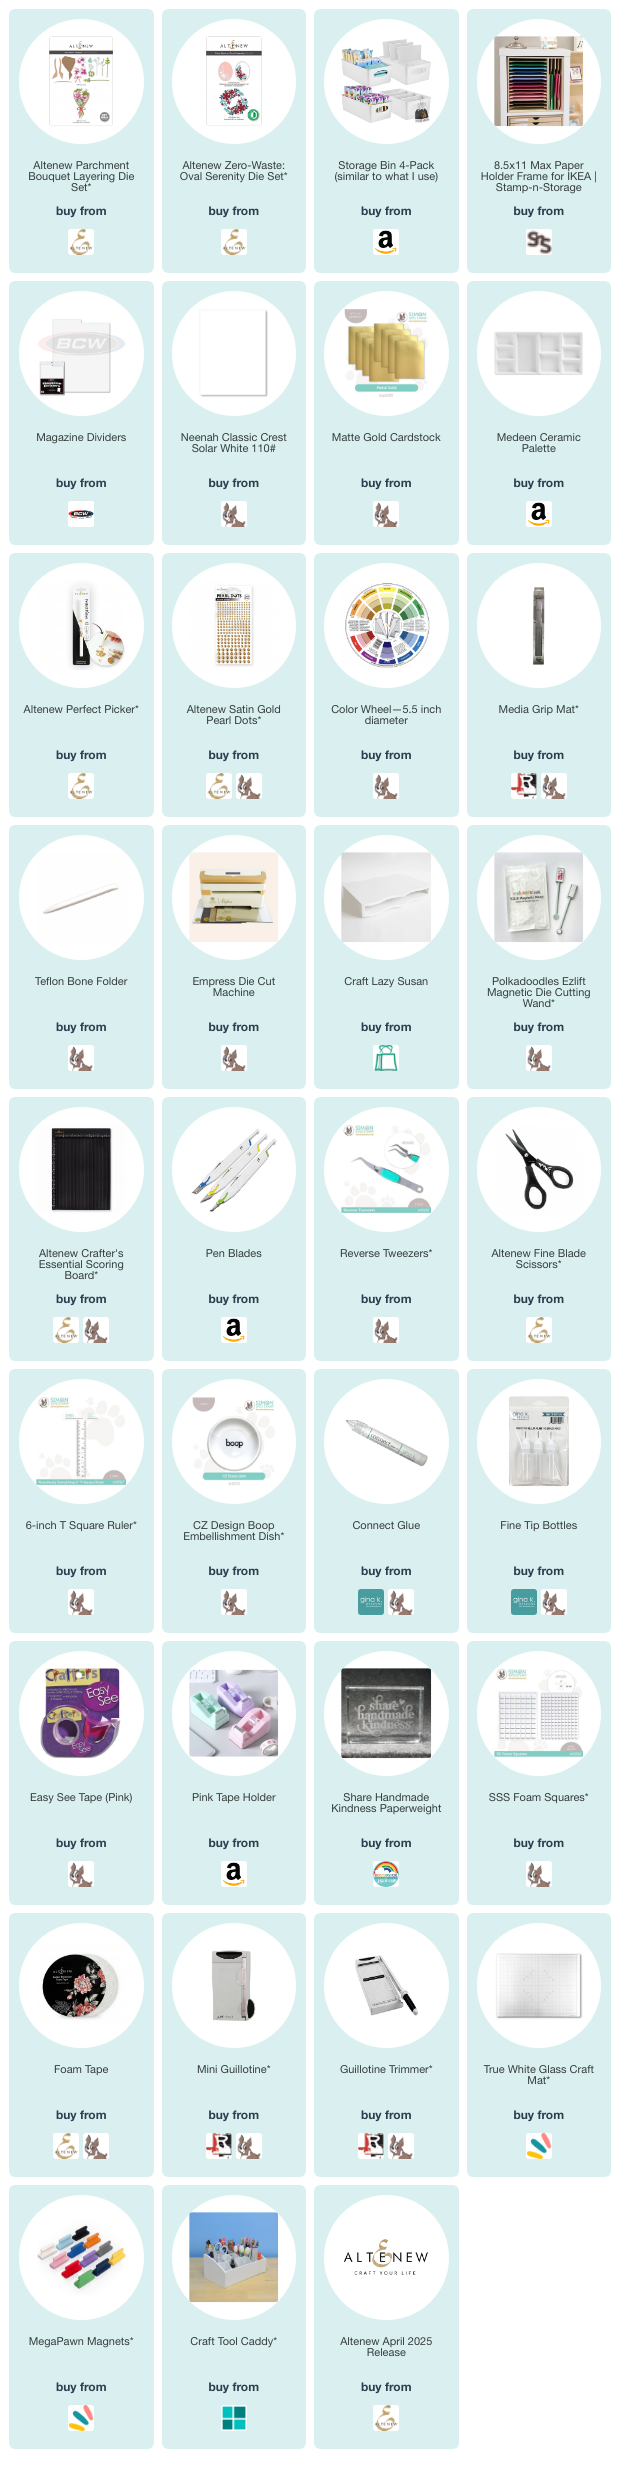
SUPPLIES:
Affiliate links are used in this post and below at no additional cost to you. I receive a small percent of compensation when you click through and shop using the provided links. You are supporting me and my small business directly by shopping with my links and for that I thank you. Items with an asterisk were gifted by the manufacturer. All other supplies were purchased by me.

The post Cathy Makes a Card Live: the giveaway post appeared first on CZ Design.


Use grounding techniques on your next card design 15 Apr 11:00 AM (2 days ago)

Today I’m sharing some simple ideas for creating a unified design on your next card project. We are talking about grounding.
Grounding is a way to tie your elements together physically on any design. Here is my tutorial to explain it in detail:
This is such an easy way to create unity on any card design.

I think card makers ground intuitively, but if you struggle to make your designs feel cohesive, use this technique to tie everything together.


Today’s cards are also part of a blog hop for the new Good Times release from Pinkfresh Studio, which means lots of inspration AND giveaways!
Pinkfresh Studio will be giving away TEN $25 gift cards at every stop along the hop!

Pinkfresh Studio is also giving away the ENTIRE release on their blog and YouTube channel!

The winners will be post on April 23, 2025 on the Pinkfresh Studio Giveaways Page. Be sure to check there to see if you are a winner.
BLOG HOP PARTICIPANTS:
Here are all the makers in today’s hop. Visit each blog and leave a comment to increase your chances of winning.
You are invited to the Inlinkz link party!
Click here to enterThanks so much for stopping by!
SUPPLIES:
Affiliate links are used in this post and below at no additional cost to you. I receive a small percent of compensation when you click through and shop using the provided links. You are supporting me and my small business directly by shopping with my links and for that I thank you. Items with an asterisk were gifted by the manufacturer. All other supplies were purchased by me.

The post Use grounding techniques on your next card design appeared first on CZ Design.
Unboxing the latest card kit from Simon Says Stamp and making five cards 14 Apr 9:30 AM (3 days ago)
It’s Kit Unboxing Day for the May 2025 Card Kit from Simon Says Stamp. Let’s jump right to the video, shall we?
When I first opened the box, I was a little nervous but as you saw, it always gives me a little creative spark, no matter the style of the kit. Here is a closer look at the cards. First up, Card One:

This is such a basic, easily replicable design! I love having multiple mats on a card. Plus, the foiled greetings are so pretty. I can never photograph them to show the full shine, but… you get the idea.

For Card Two, I had not done an emboss resist for a while and I absolutely love how this card turned out! Who knew Distress Crayons could be used for painting? (Probably, many of you!)

I fussy cut my greeting, but there are coordinating dies for this stamp set which would definitely save time and make it a bit easier.

For Card Three, I was so proud of myself for making my own foiled cardstock and then running it through the gorgeous Dotted Diamond Embossing Folder that is a free gift with this month’s card kit.

The texture on this folder is so so cool!

For Card Four, it was all about using that leftover cutout piece from the previous card. I love a simply dissecting element on any panel of cardstock.

And for Card Five, I got a little messy but I love this ink smooshed look!

Again, I started with a white embossed image, smooshed on color, then finished by stamping more details with coordinating colors of Distress Ink.

I feel like you could make panels like this for days, experimenting and playing to see what shakes out.
And that wraps up the cards for this video!
You can become a subscriber to the Simon Says Stamp Card Kit starting today with the May 2025 kit while supplies last. Click on the image below to subscribe, starting with this kit while supplies last. Of course, many of the items can be purchased separately and I will have everything linked below in my supply list. But the kit is a tremendous savings. You can cancel at any time and you can skip any month that doesn’t appeal to you! Plus, card kit subscribers get $5 off the kit price.

Plus, now you can add other products to your kit before it ships if you add by the 15th of the month! This lets you add coordinating dies or other products with no additional shipping fees, beyond the normal fee. I recommend doing all of your add-ons by end of day on the 14th of each month, if you want any in your kit!
Want to see a quick video walking you through how the subscription works? Watch this:
Thanks so much for stopping by!
You can also purchase many of the items from the kit as standalone items and I will have all of the supplies I used in today’s video linked below for you.
SUPPLIES:
Affiliate links are used in this post and below at no additional cost to you. I receive a small percent of compensation when you click through and shop using the provided links. You are supporting me and my small business directly by shopping with my links and for that I thank you. Items with an asterisk were gifted by the manufacturer. All other supplies were purchased by me.

The post Unboxing the latest card kit from Simon Says Stamp and making five cards appeared first on CZ Design.
A look at my paper scrap storage and a few cute cards from those scraps! 10 Apr 8:00 AM (7 days ago)

Today I’m sharing a look at my paper scrap storage and also sharing some fun cards that are part of a blog hop for the newest release from Altenew.

Having your cardstock scraps organized is helpful when you need to find the perfect color for die cuts, especially for floral designs or those that use other small, detailed elements.

I used the same scraps for both cards today.

In my video today, I’ll share a brief look at my storage as well as how these cards came together:
I hope that gives you a few ideas for storing your own scraps! I linked to similar bins to what I use in my supply list today, as the ones I have are no longer available.
Now onto the giveaway!

GIVEAWAY DETAILS
There are $300 in total prizes! To celebrate this release, Altenew is giving away a $100 gift certificate to 1 lucky winner and a $50 gift certificate to 4 winners! Please leave a comment on the Altenew Card Blog and/or each designer’s blog post on the blog hop list below by April 17th for a chance to win. Altenew will draw 5 random winners from the comments left on each stop of this blog hop and announce the winners on the Altenew Winners Page on April 19th, 2025.
The winner of the $100 gift certificate will be chosen from comments left on the Altenew blog.
BLOG HOP MAKERS LIST
Here are today’s card makers in the hop. Be sure to visit for inspiration and ideas, as well as to leave a comment on each stop along the hop to increase your chances of winning the giveaway.
You are invited to the Inlinkz link party!
Click here to enterThanks so much for stopping by!
SUPPLIES:
Affiliate links are used in this post and below at no additional cost to you. I receive a small percent of compensation when you click through and shop using the provided links. You are supporting me and my small business directly by shopping with my links and for that I thank you. Items with an asterisk were gifted by the manufacturer. All other supplies were purchased by me.
The post A look at my paper scrap storage and a few cute cards from those scraps! appeared first on CZ Design.
Cathy Makes a Card Live: the giveaway post 9 Apr 9:00 AM (8 days ago)

Welcome to the giveaway post for today’s livestream (4/9/25)! The giveaway is now closed and the winner is:

Congrats, Patti! I will be emailing you!
Here is the livestream replay:
I love this card so much, I’m sad to be giving it away! But give it away, I must!


Check out the new release today from Concord & 9th!

Thanks for stopping by.
SUPPLIES:
Affiliate links are used in this post and below at no additional cost to you. I receive a small percent of compensation when you click through and shop using the provided links. You are supporting me and my small business directly by shopping with my links and for that I thank you. Items with an asterisk were gifted by the manufacturer. All other supplies were purchased by me.

The post Cathy Makes a Card Live: the giveaway post appeared first on CZ Design.
My first ever fancy fold card (plus some pretty foiling and ink blending!) 8 Apr 5:00 PM (9 days ago)

At first glance it looks like a typical card but when you look at like standing up, you see the magic:

I realize this is a very basic fancy fold, but it’s the first time I’ve tried this on my YouTube channel. I also featured some fun foiling and ink blending, as well.

Take a peek at my video here:
It took a few cuts to get the fold just right but this is something I’ve not really done much of, if at all. I’m really happy with how it turned out.
Plus, I used the left over foil plus a sheet of solid white Poly-Glaze to make this card:

Check out all the new releases out from Gina K. Designs today!
Thanks so much for stopping by!
SUPPLIES:
Affiliate links are used in this post and below at no additional cost to you. I receive a small percent of compensation when you click through and shop using the provided links. You are supporting me and my small business directly by shopping with my links and for that I thank you. Items with an asterisk were gifted by the manufacturer. All other supplies were purchased by me.

The post My first ever fancy fold card (plus some pretty foiling and ink blending!) appeared first on CZ Design.
Download my small palette swatching chart for free 6 Apr 11:17 AM (11 days ago)

Today I’m sharing a free 5 x 7 printable to help you swatch out small paint palettes. I’m also including one with the Altenew colors I recently swatched, if you have any of those, or are considering adding watercolors to your collection.
These PDF files are 5 x 7 to match the Altenew 5 x 7 watercolor paper, but you can trim any watercolor paper to 5 x 7. I printed mine on an ink jet printer, and made sure to set my paper size to 5 x 7. I also printed on the smoother side of the watercolor paper. Note: if you don’t have an ink jet printer, I’m not sure if you can use a laser printer, as that ink smears when it comes in contact with water.
To download the package, just click on the image below. The downloads will appear in your Downloads area on your computer and may have to be unzipped from the compressed file.
I shared a short video on my Instagram of how I swatched my colors.
Of course, I added my watercolors to the pans the day before. I called them liquid in the video, but I just meant they are creamy until they harden in the pans. The palette I am using does not come with pans, so you have to order them. I have all of my supplies linked at the end of this post.
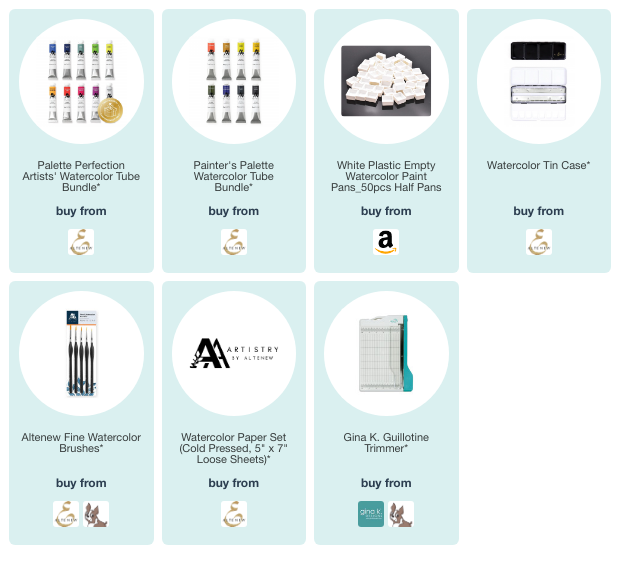
SUPPLIES:
Affiliate links are used in this post and below at no additional cost to you. I receive a small percent of compensation when you click through and shop using the provided links. You are supporting me and my small business directly by shopping with my links and for that I thank you. Items with an asterisk were gifted by the manufacturer. All other supplies were purchased by me.
The post Download my small palette swatching chart for free appeared first on CZ Design.
Getting meta with postage themed cards! 5 Apr 9:00 AM (12 days ago)

Yes, we’re going to get a bit meta today with two cards that feature postage and envelope themes. I’m loving the new Blocks of Fun release from Waffle Flower!

There are some fabulous new Postage Die collections and mail themes in this release.


I combined a few die sets—the Postage Collage Envelope Die, the Postage Collage Mini Seals Dies and the Envelopes Die (plus a stencil and sentiment strip)—to create my cards.


Here is my tutorial:
GIVEAWAY
Today I have a $20 gift card to giveaway for the Waffle Flower shop! Just leave a comment at the end of this post to be entered for a chance to win and I’ll choose the winner on April 7 after noon central time.

IDEA SHEETS AND CHECKLISTS!
If you want to keep track of the Waffle Flower Postage collection, you’re in luck! They have just released a check list download AND an idea sheet. Just click on the images to get the free info!
FREE GIFT WITH PURCHASE
There is the cutest, miniature Postage Collage die and stencil set that is a free gift with purchase of $60 or more. Use the code G2504 at checkout to get the set.

Thanks so much for stopping by!
SUPPLIES:
Affiliate links are used in this post and below at no additional cost to you. I receive a small percent of compensation when you click through and shop using the provided links. You are supporting me and my small business directly by shopping with my links and for that I thank you. Items with an asterisk were gifted by the manufacturer. All other supplies were purchased by me.

The post Getting meta with postage themed cards! appeared first on CZ Design.
CATHY MAKES A CARD LIVE—THE POST FOR THIS WEEK’S YOUTUBE LIVESTREAM 2 Apr 9:00 AM (15 days ago)

IThe card from today’s livestream (April 2, 2025) is going to my friend Gina K, to celebrate her 200K subscribers and also because she’s a salt of the earth, amazing human.
All supplies for this week’s livestream will be listed at the bottom of this post. In the meantime, check out the live (or replay) here:
I love this stencil set so much. And Gina! Who is the best!


Thanks so much for stopping by!
SUPPLIES:
Affiliate links are used in this post and below at no additional cost to you. I receive a small percent of compensation when you click through and shop using the provided links. You are supporting me and my small business directly by shopping with my links and for that I thank you. Items with an asterisk were gifted by the manufacturer. All other supplies were purchased by me.

The post CATHY MAKES A CARD LIVE—THE POST FOR THIS WEEK’S YOUTUBE LIVESTREAM appeared first on CZ Design.
Tile your background! Turn any panel into fours! 28 Mar 8:00 AM (20 days ago)

Today I’m sharing a simple technique to add a bit more interest to any card design: turn a background panel into quads!

This four-panel look works with any type of background stamp, repeating pattern stencil, patterned paper—pretty much any design for a background! Just create it, cut it into fours, and pop it up on your notecard. I’m sharing a great hack for perfect alignment, too! Watch this tutorial:
Here’s a look at the second card I shared:

If you’ve never tried breaking up a panel, give it a whirl.
Today I also have a fun gift with purchase from Altenew to share with you:

If you’ve never tried the Micro Blending Brushes, they are so nice for small areas. Get one free with any order at Altenew over $69 and use the code CZXALT4FUN2 at check out to get the brush.
And speaking of good things, Altenew has gathered up some of my favorite products in a new collection! This collection is comprised of some of my most-used Altenew products over the past year.

Again, hope today’s video inspires you to tile it up on your next card design!
Thanks so much for stopping by!
SUPPLIES:
Affiliate links are used in this post and below at no additional cost to you. I receive a small percent of compensation when you click through and shop using the provided links. You are supporting me and my small business directly by shopping with my links and for that I thank you. Items with an asterisk were gifted by the manufacturer. All other supplies were purchased by me.

The post Tile your background! Turn any panel into fours! appeared first on CZ Design.